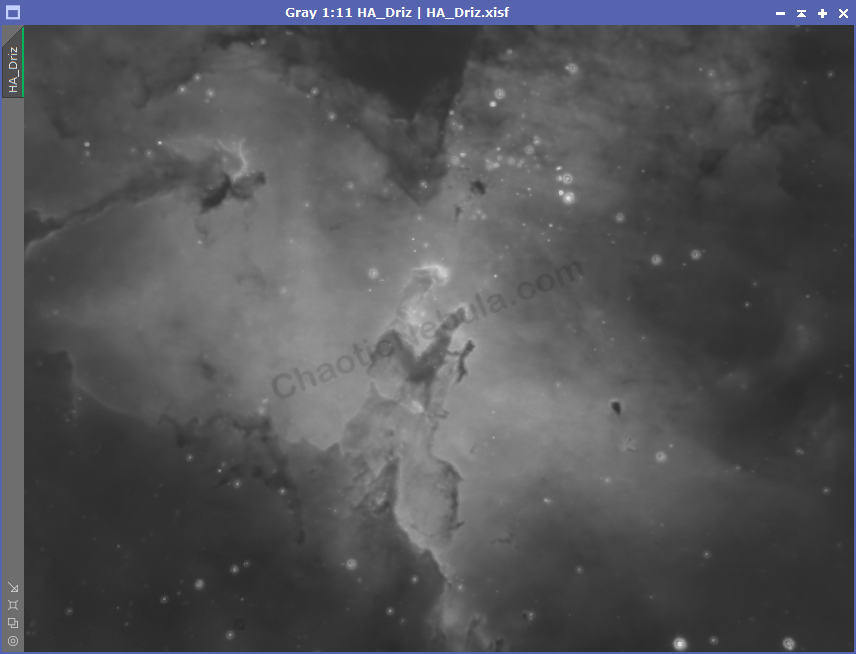
Being able to completely remove stars within astrophotography can help enhance faint features without inflating stars or for creating amazing images that highlights the flows of nebula.
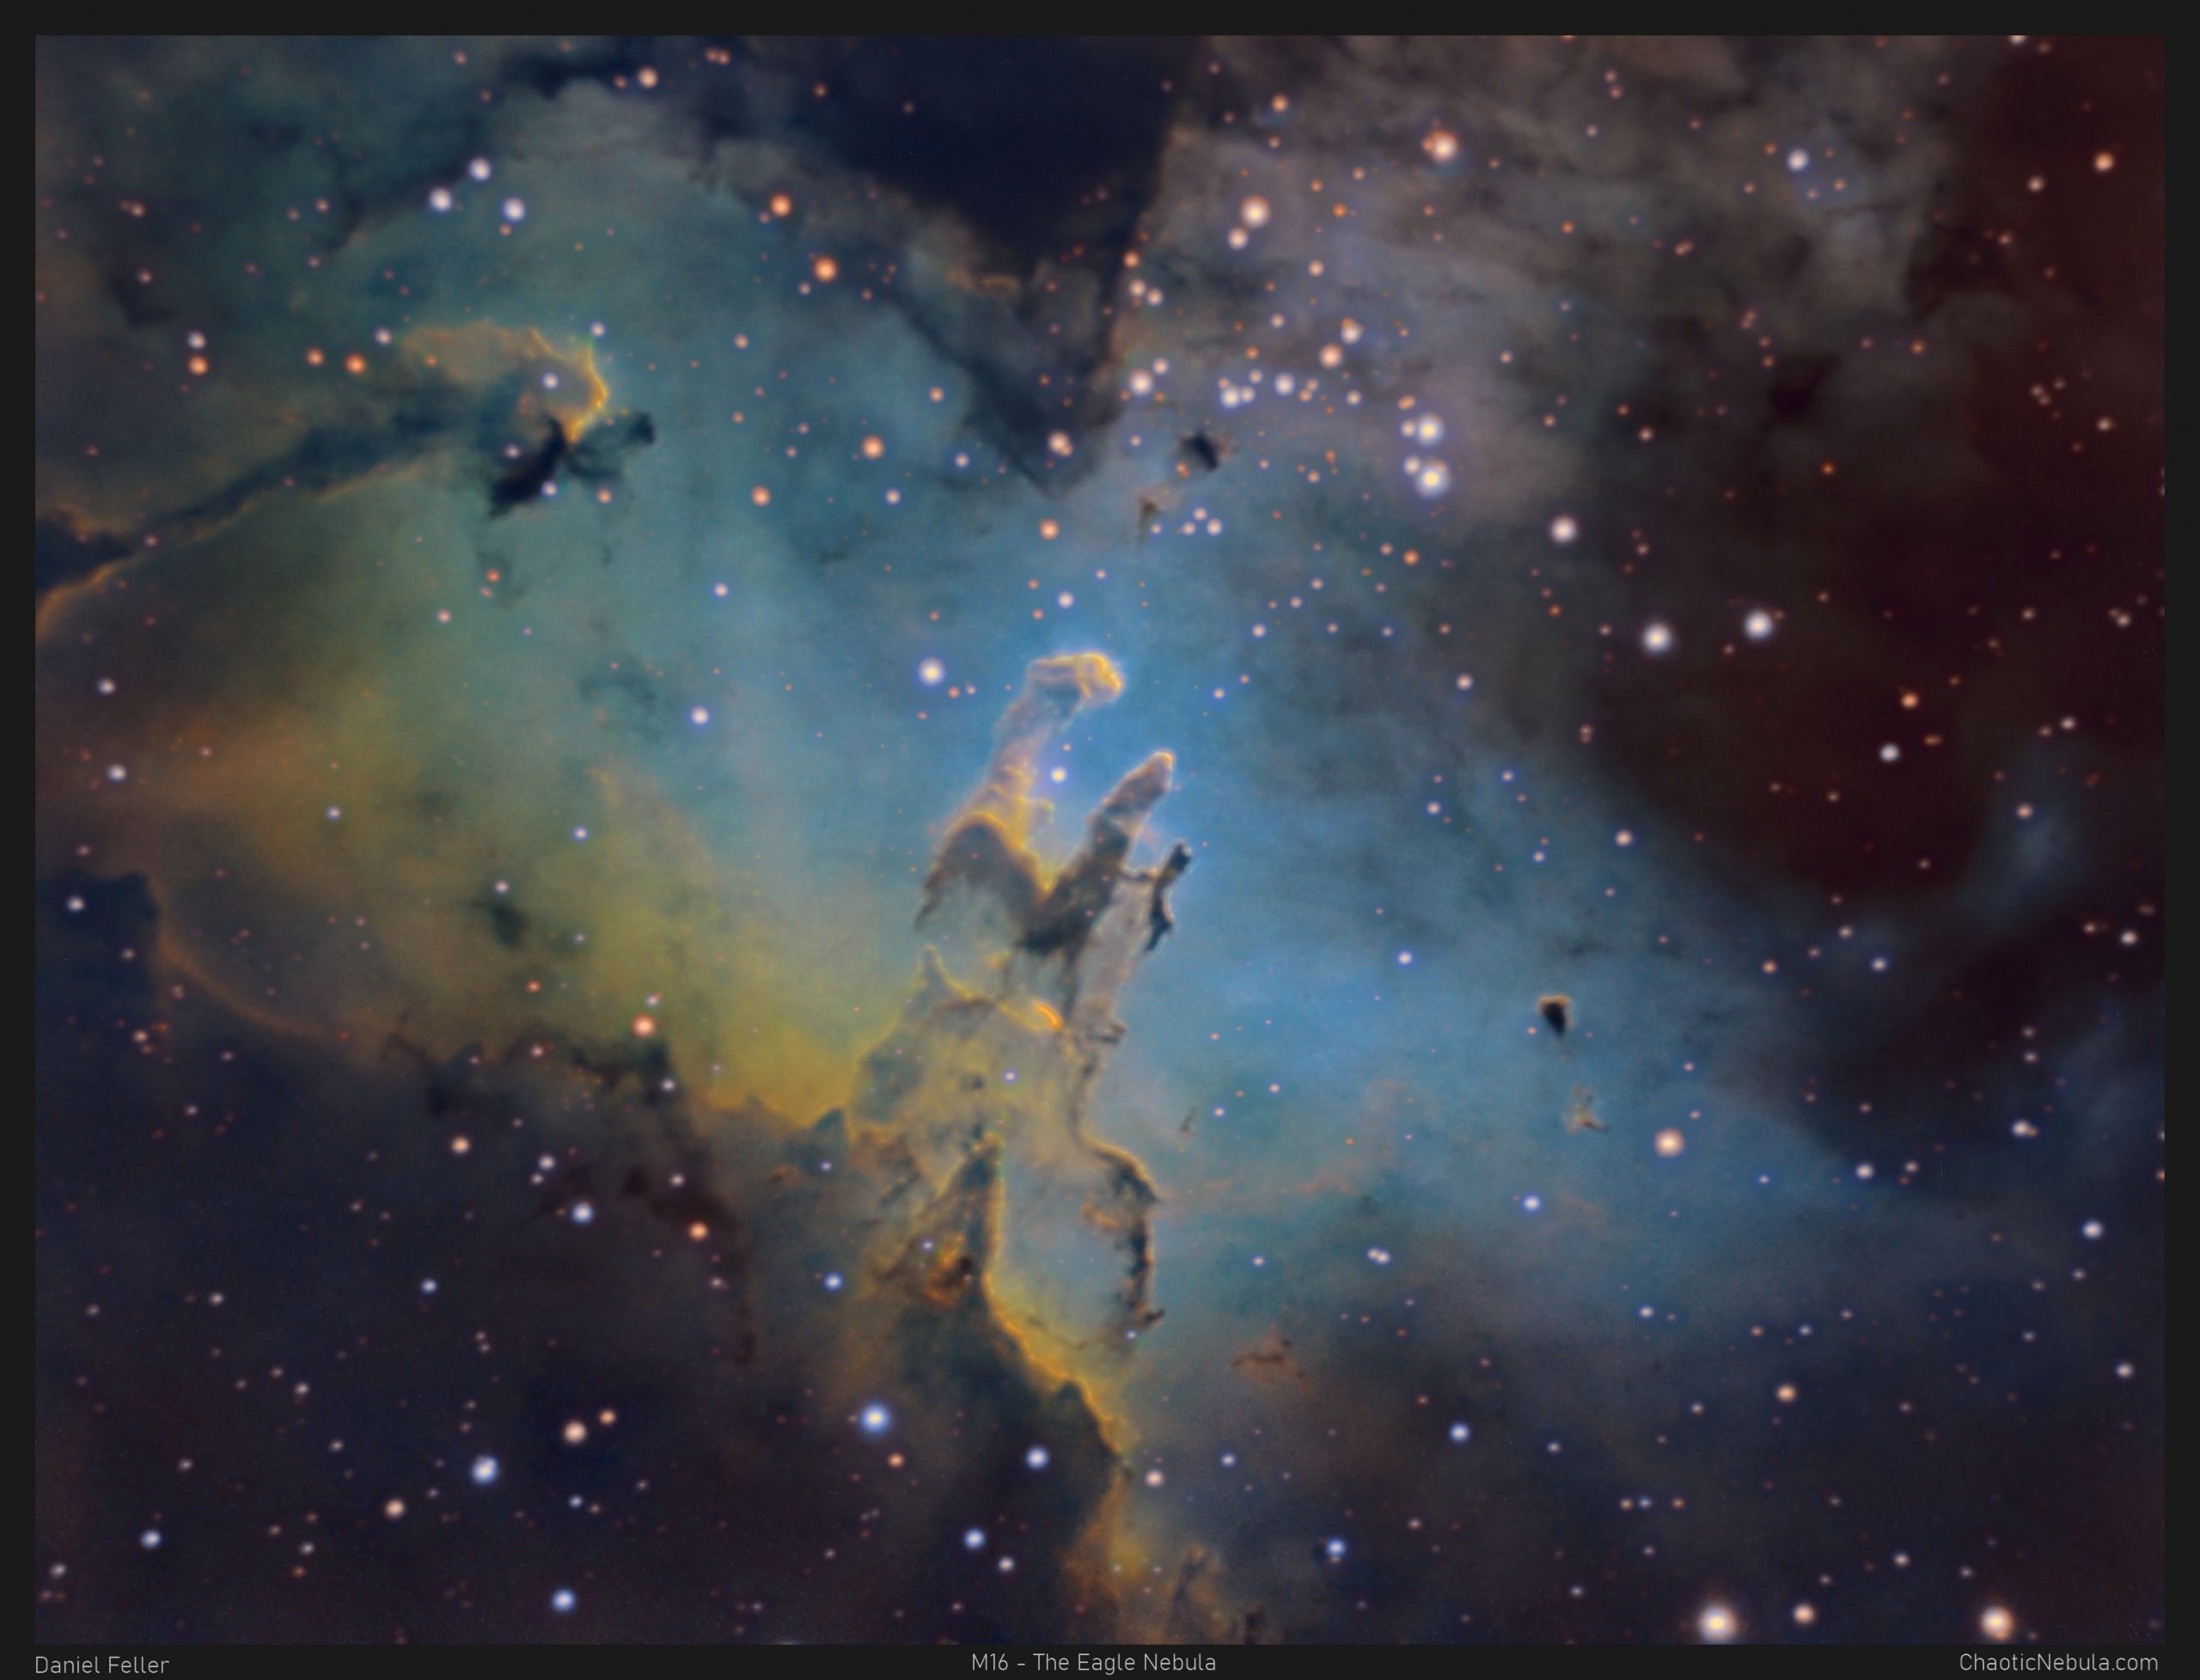
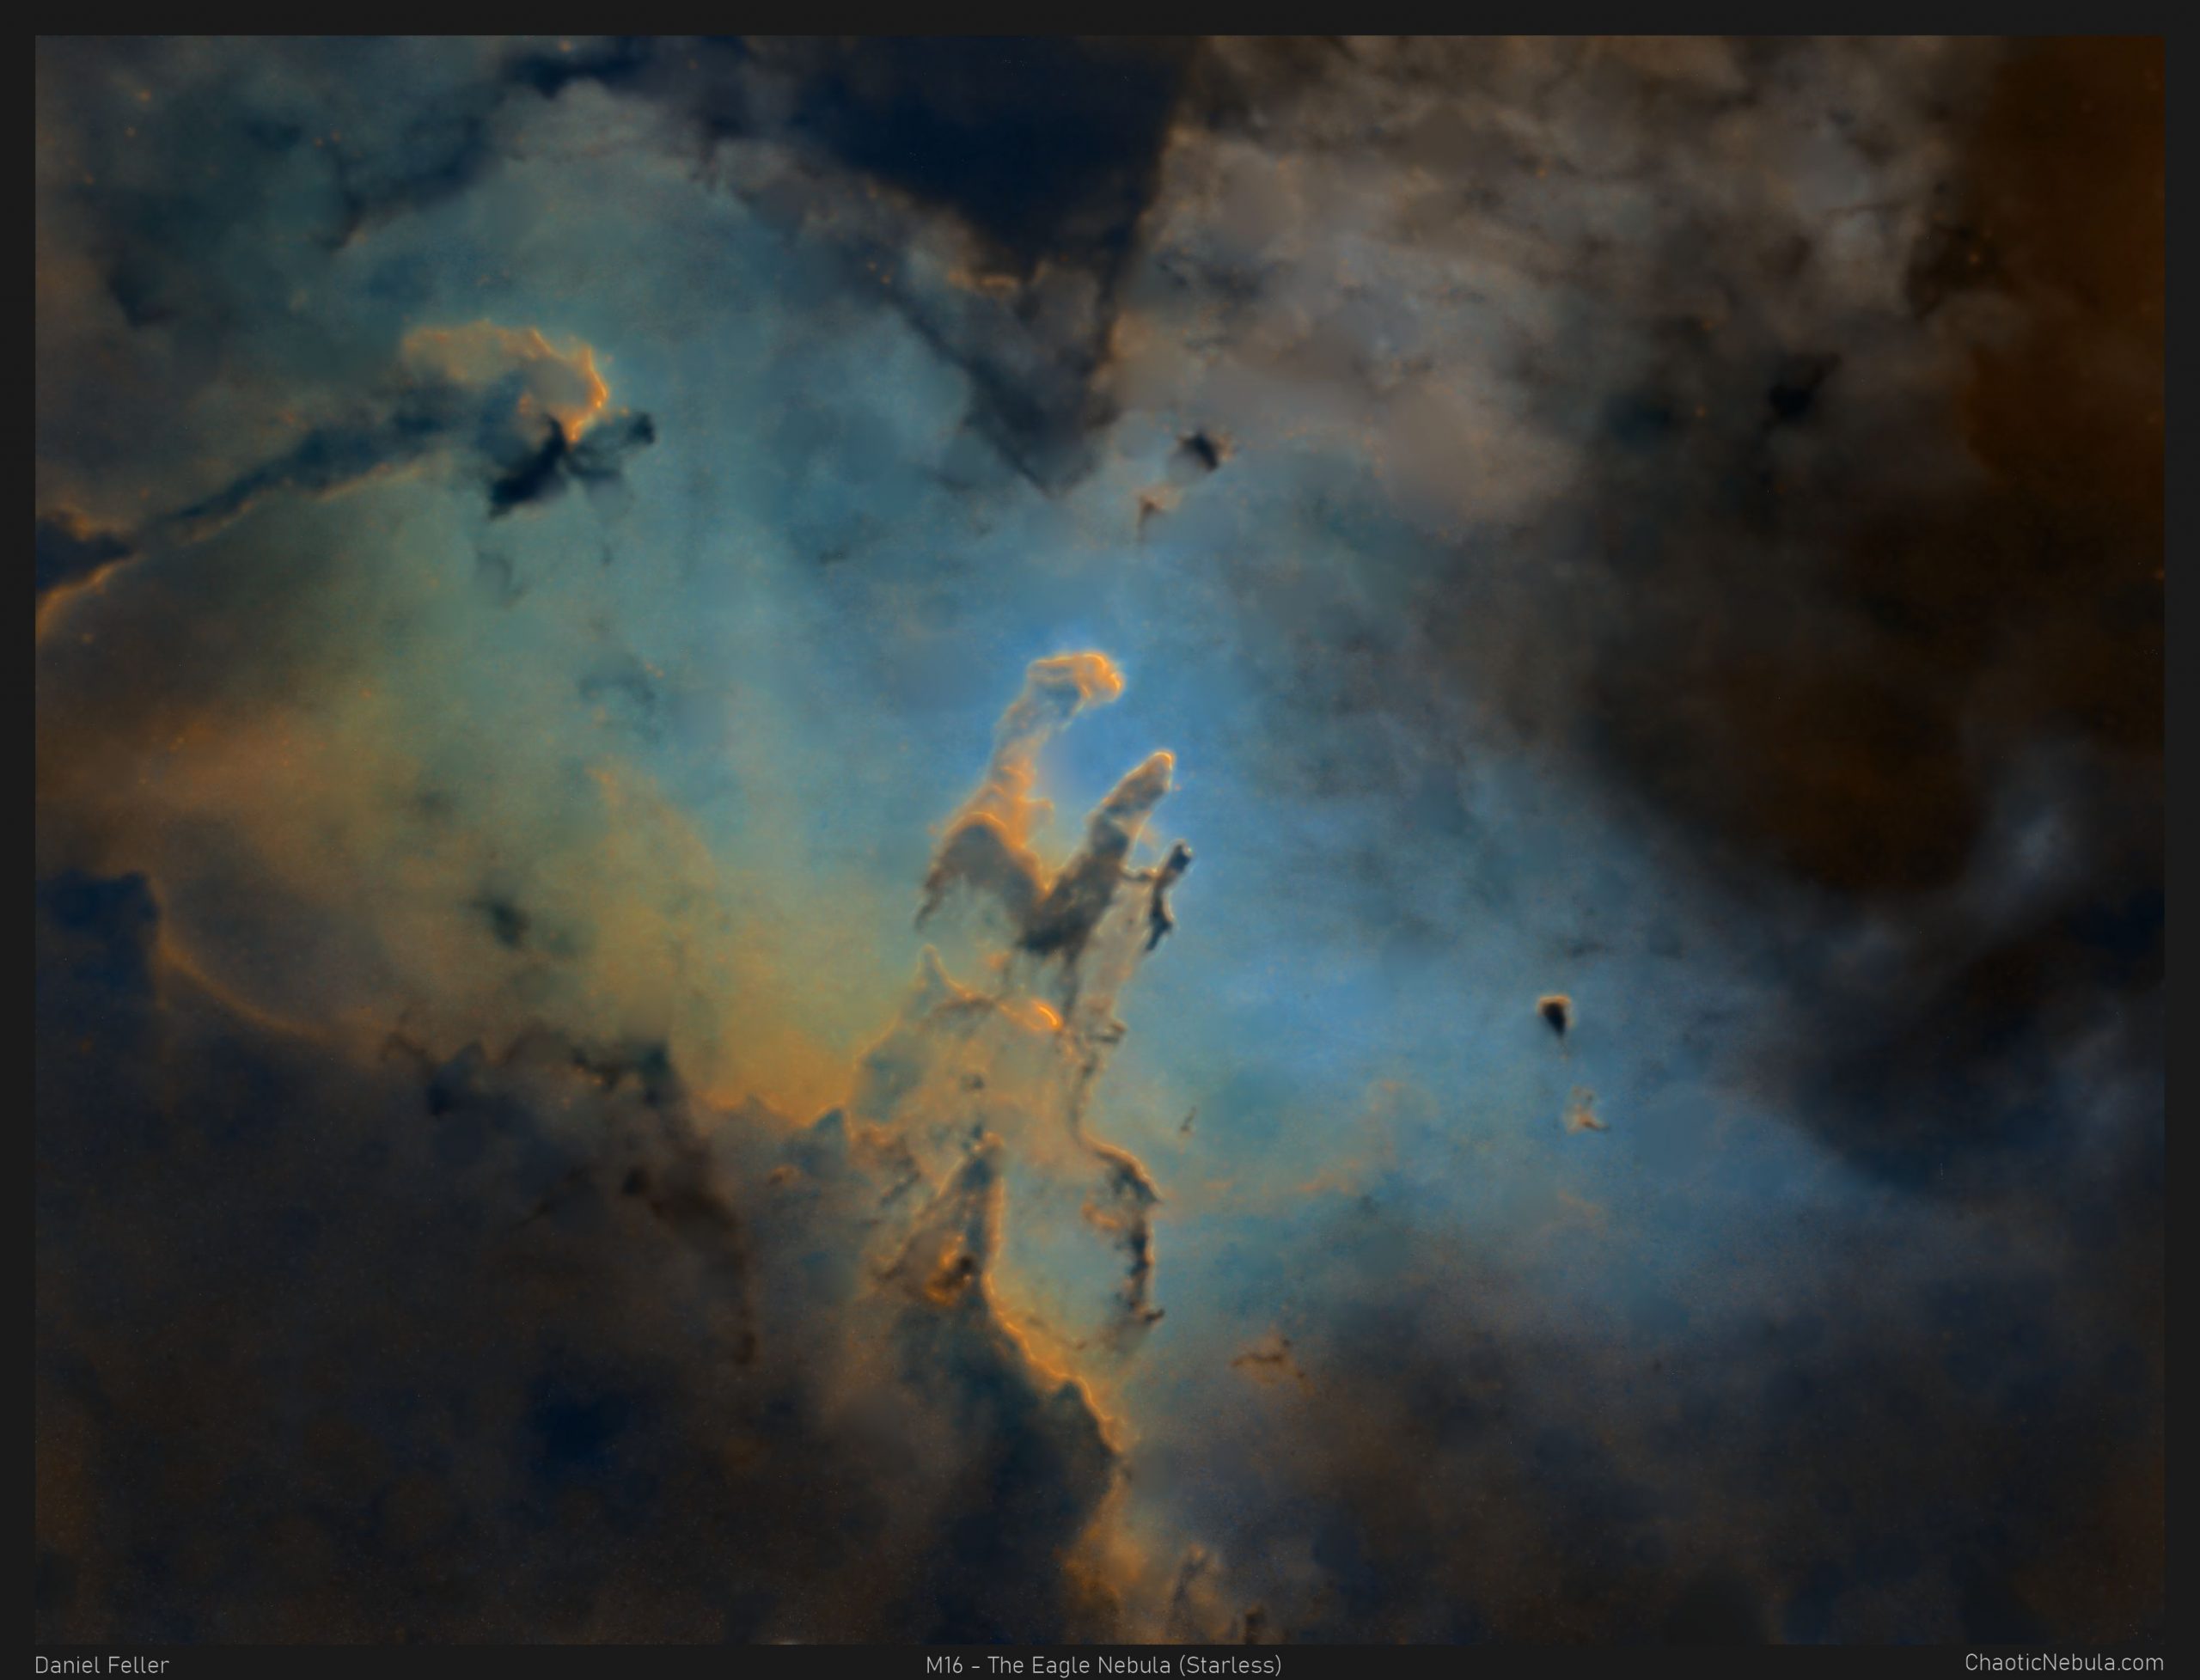
Although these two images are the same, the starless version allows you to see more of the details hidden within the nebula. I have documented another approach for star removal. It does work with practice and patience. I am now working with the StarNet process within PixInsight.
Note: Make sure you upgrade StarNet in PixInsight to StarNet2. Version 2 appears to do a much better job.
StarNet Challenges
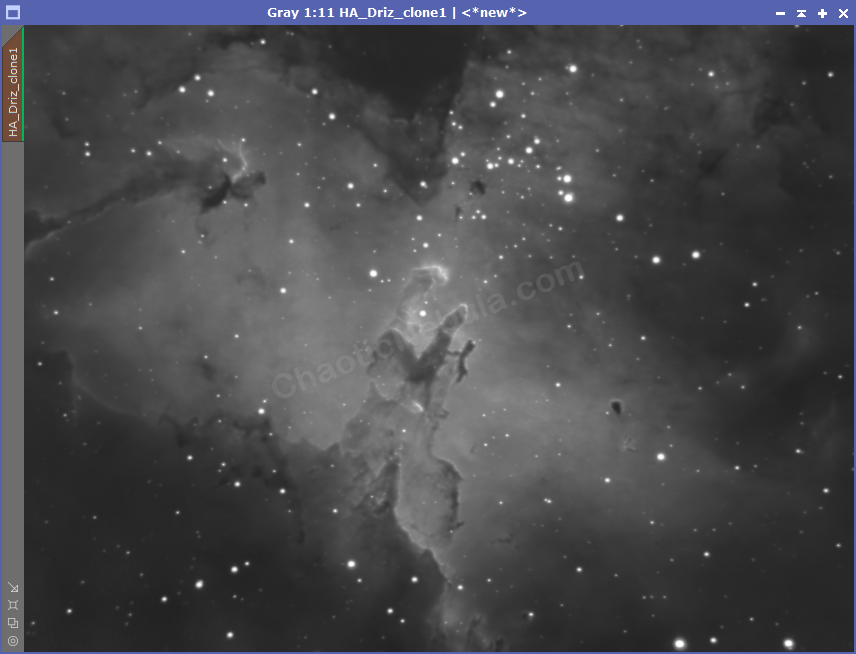
Unfortunately, StarNet doesn’t work in the default state for me.

As you can see, StarNet really only got the small stars. With bigger stars, there is a lot of residual data.
I believe the issues with StarNet and my images is because I’m running an imaging rig (12 inch Meade Schmidt–Cassegrain at F/10) with a small field of view. This means my stars are big. They are not pinpoints of light.
But if I use the following workflow, I can get StarNet to work really well on my images, whether they are linear or non-linear.
Tip: This only works well when the images have already had noise reduction applied. Doing before noise reduction results in a lot of dark artifacts after star removal. The smoother the image, the better results.
Integer Resample
Because of my narrow field of view, and because I drizzle integrate my images, my stars consume a lot of pixels. StarNet seems to have trouble with this setup. But if I shrink my image, StarNet works really well. As an added benefit, by shrinking the images, StarNet runs really fast.
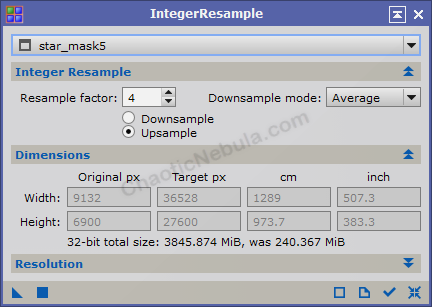
To shrink the image, run the PixInsight Integer Resample process.
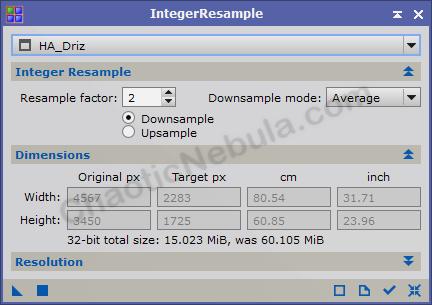
With Integer Resample, I downsample my image with a factor of 4 or 6. I use the lowest number that gives me a good result. Plus, with my normal image, StarNet takes around 10 minutes to process. After running integer resample, StarNet take less than 2 minutes.
StarNet
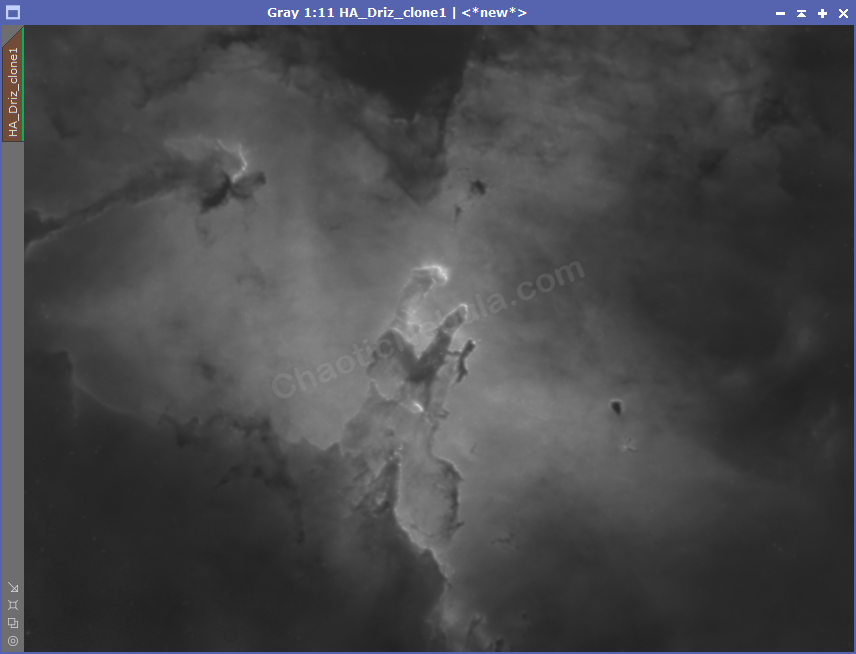
With my image stretched and downsampled, I’m ready to try StarNet. There isn’t much to change with StarNet.
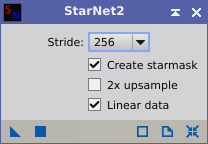
Verify that Create Starmask and Linear data is selected and apply this to the image. This process can take some time to complete.
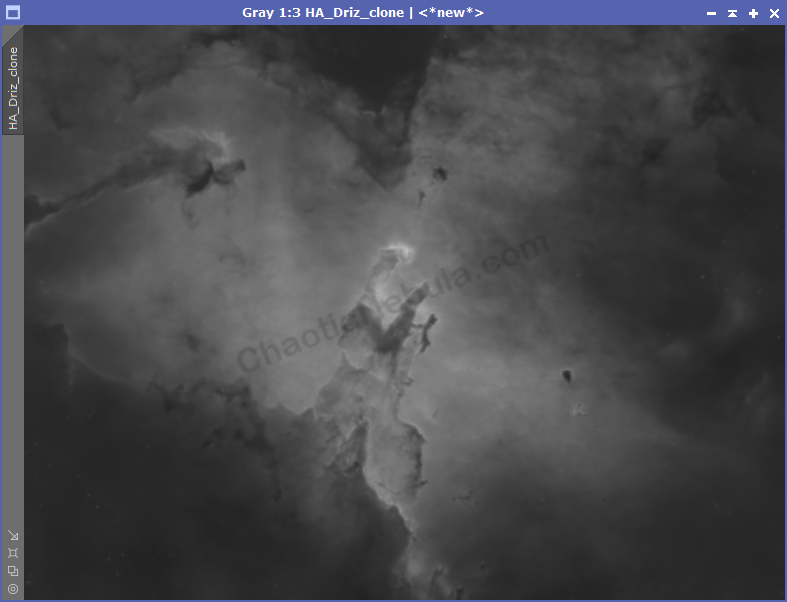
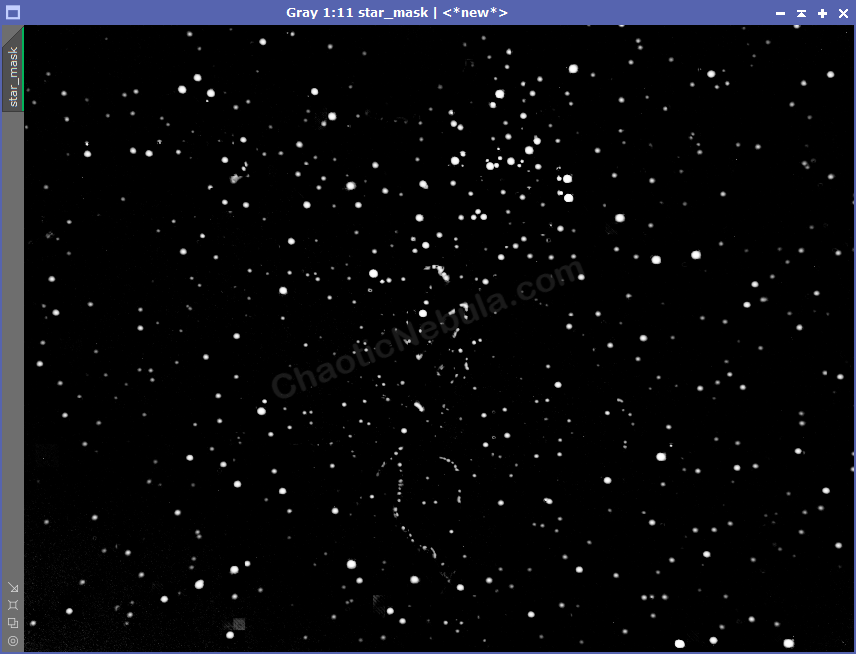
As you can see, StarNet did a fantastic job removing the stars from my stretched and resampled image. Plus, I now have a excellent star mask.
Clone Stamp (Optional)
Before we continue, we might need to make a few small corrections to the star mask. StarNet removed the stars, but might also include brighter details around the nebula. This is seen within the star mask. To correct this, we need to use the Clone Stamp tool to remove those stars from the star mask.
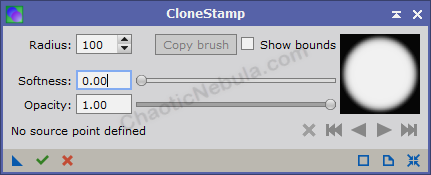
To use this, reset the process, then set the radius size. As we want to completely eliminate the stars, set the softness to 0. This will remove any gradients from the edges.
Find a black area, hit CTRL+LeftMouse. This is the the area you copy from. Left mouse click on the area to paste to.
It’s a good idea to have the original image (with stars) and the star mask sitting on top of each other in the PixInsight window. Zoom into different sections of both images. Blink between the two images with Ctrl+PageDown. This will let you compare the star mask with the original. The mask should only contain stars. Use clone stamp to remove any bright nebula edges.
When down with Clone Stamp, hit the green check mark to apply the modifications.
SAVE the star mask to a file.
Integer Resample
We need to grow the star mask file and our starless image so it is the same size as our original image. This means we need to undo the initial integer resample by upsampling our image by the same amount that we downsampled earlier.
Crop (Optional)
Sometimes, after upsampling, the actual dimensions of the file might be slightly different than the original image. In my example, my two images have the following dimensions:
- Original Image: W: 9134, H: 6901
- Star Mask: W: 9132, H: 6900
Because these dimensions don’t match, I won’t be able to use the star mask. However, as I’m only off by 1 or 2 pixels, I will use crop to add them back in. This minor discrepancy will not impact the final image.
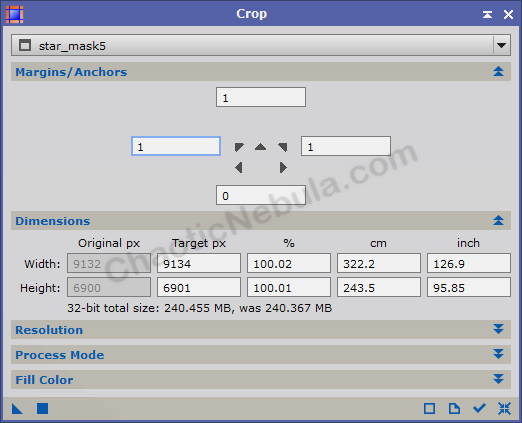
With the Crop process, select the star mask. Simply add pixels to appropriate side until the “target px” parameter matches the original image. Because I needed to add 2 pixels for the width, I split them up for right and left.
Final Image
With StarNet2, removing stars and creating star masks is quite simple and much faster than trying to do it manually.