Broadband filters (Red, Green, and Blue) are used when imaging galaxies, clusters, and reflection nebula. These objects reflect or transmit light across the entire spectrum. However, there are cases where it is advantageous to image these objects with narrowband filters, typically with Hydrogen-Alpha or Oxygen-III filters.
For galaxies, Hydrogen-Alpha filters can brighten nebula and star forming regions contained within. For reflection nebula, Hydrogen-Alpha can enhance/brighten small areas within the nebula. There are even cases where a single nebula is a combination of reflection and emission, M20 – Trifid Nebula is a perfect example.
Being able to combine narrowband and broadband filters into a single image can provide a more dynamic final image. As with most image processing techniques, there are a few ways of achieving narrowband and broadband integration.
Before beginning, it is important that the Red, Green, Blue, and narrowband images have gone through the initial stages of the Broadband Workflow for Galaxies, Reflection Nebula, or Clusters. The narrowband image should also have gone through the initial stages of the Narrowband workflow for Emission Nebula.
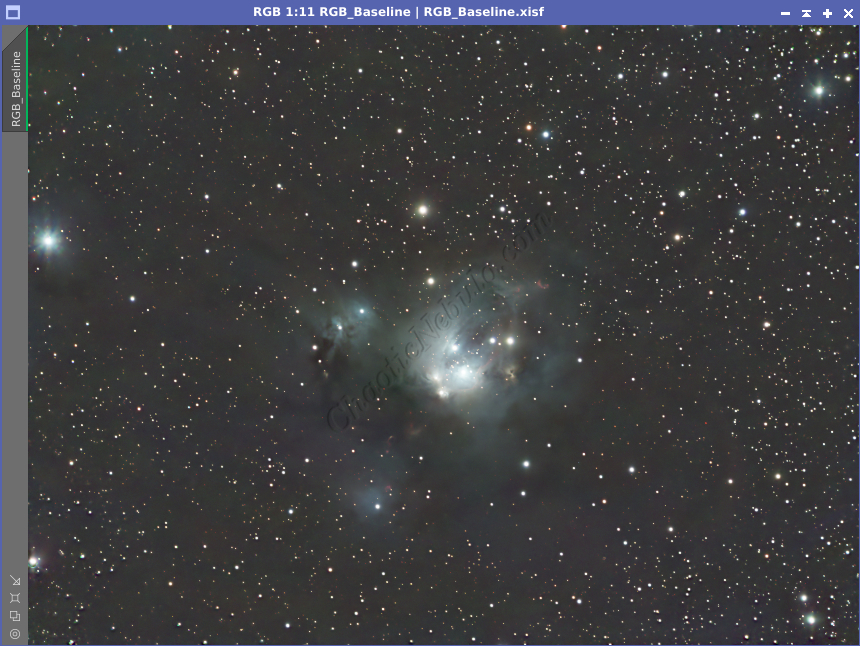
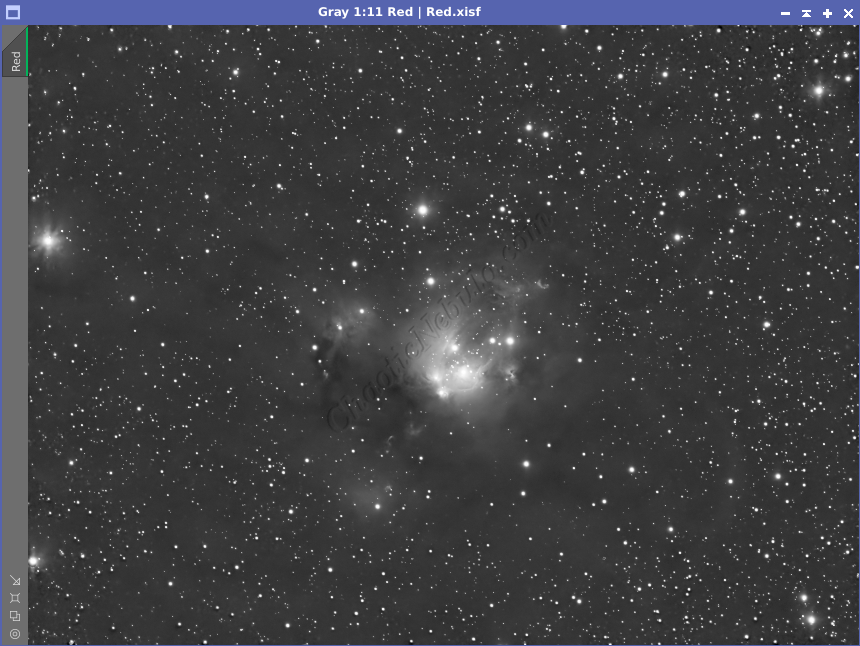
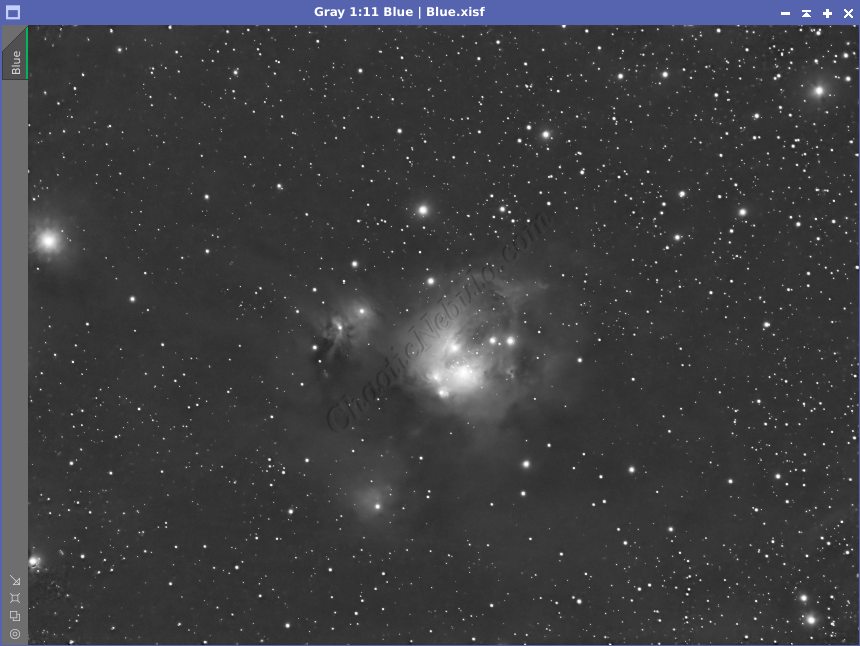
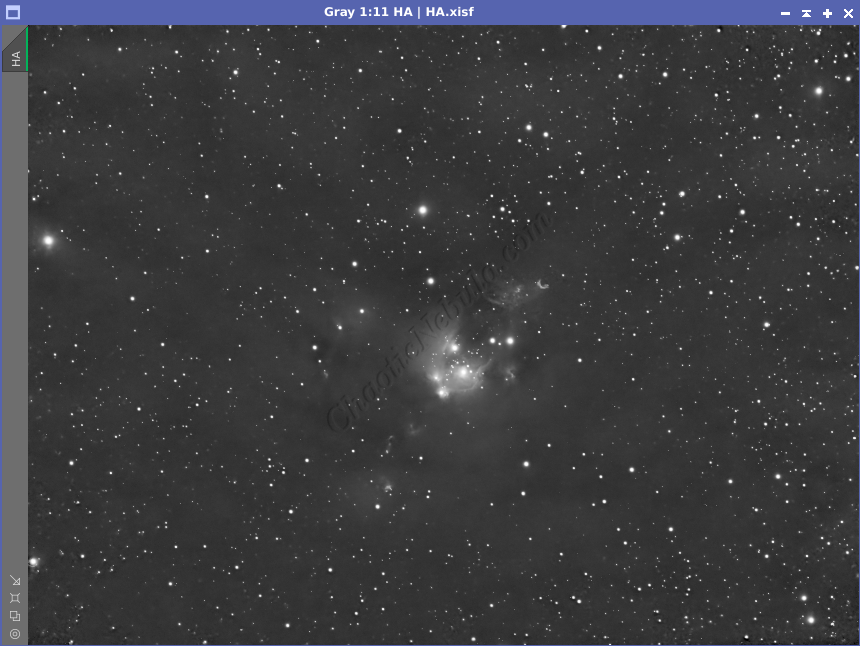
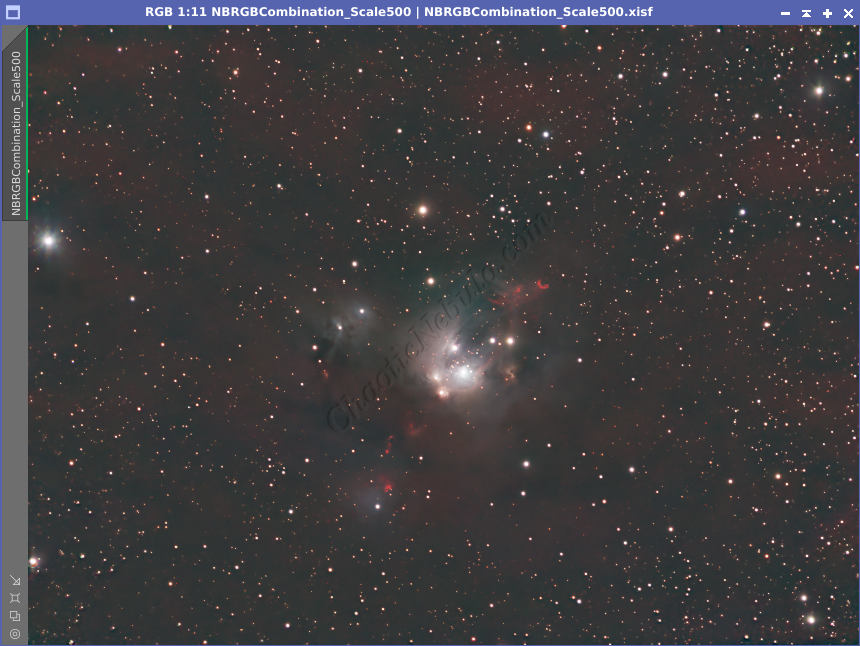
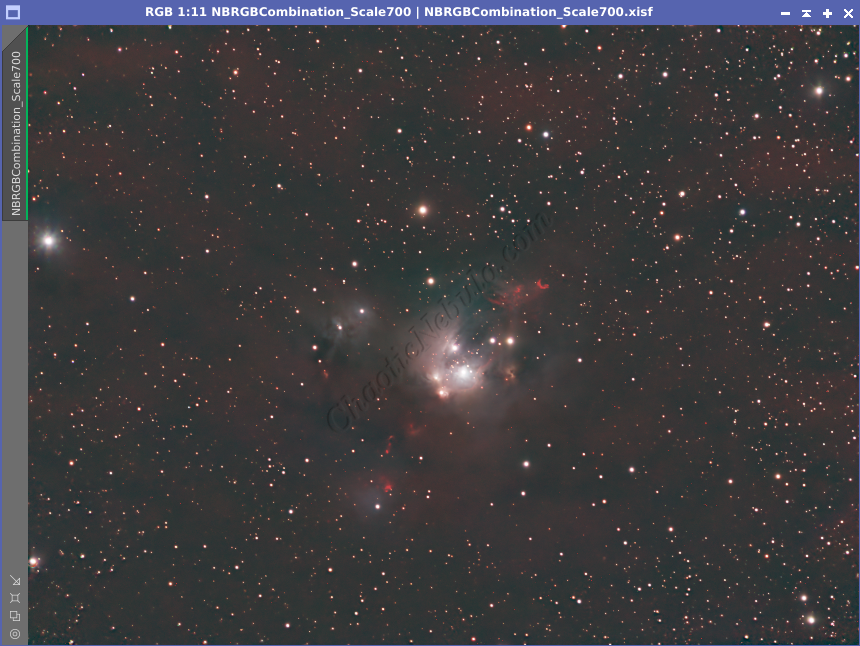
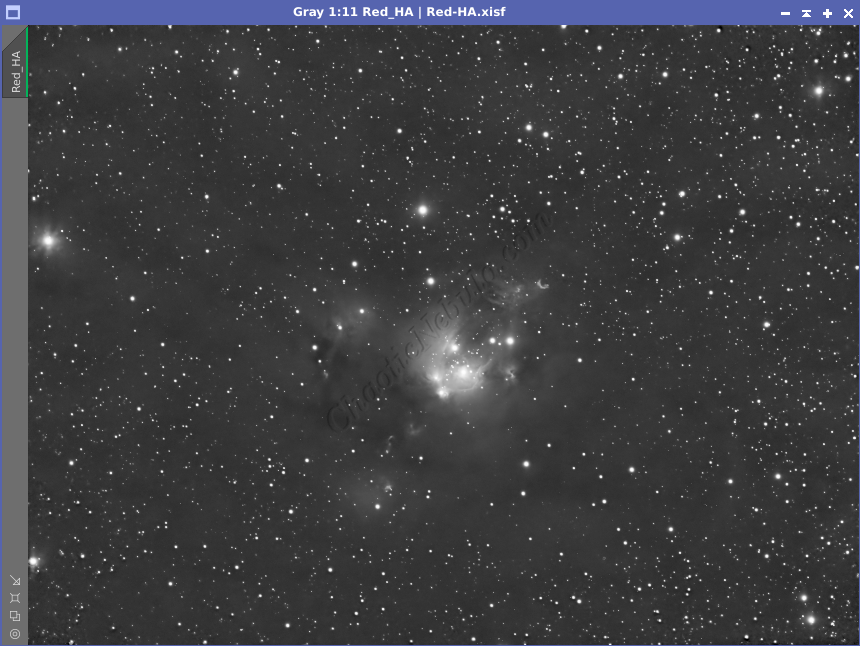
All of the following examples use the following Red, Green, Blue and Hydrogen-Alpha images

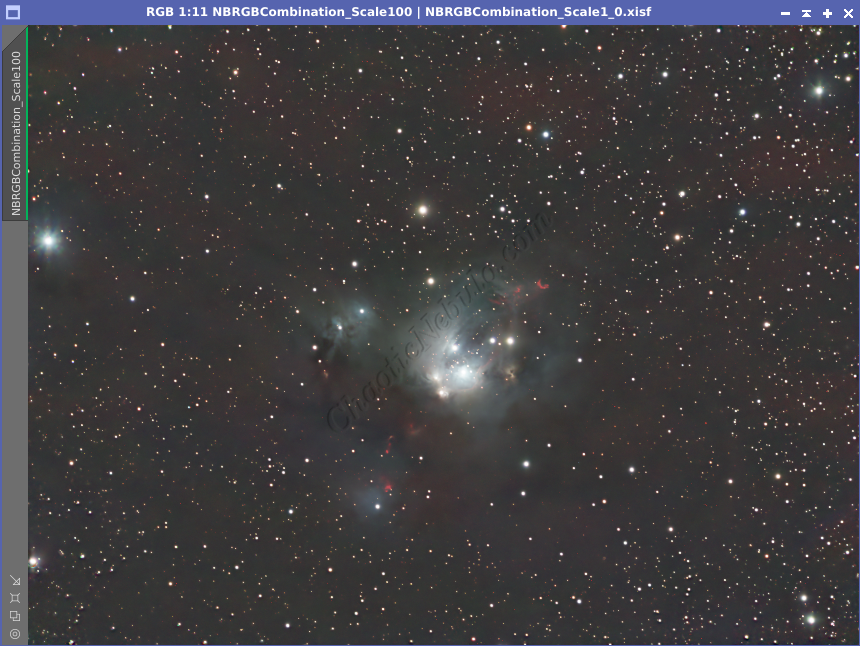
Option 1: NBRGB Combination Script
The NBRGBCombination script in PixInsight (Scripts – Utilities – NBRGBCombination) simplifies the integration of narrowband data with the broadband RGB image.
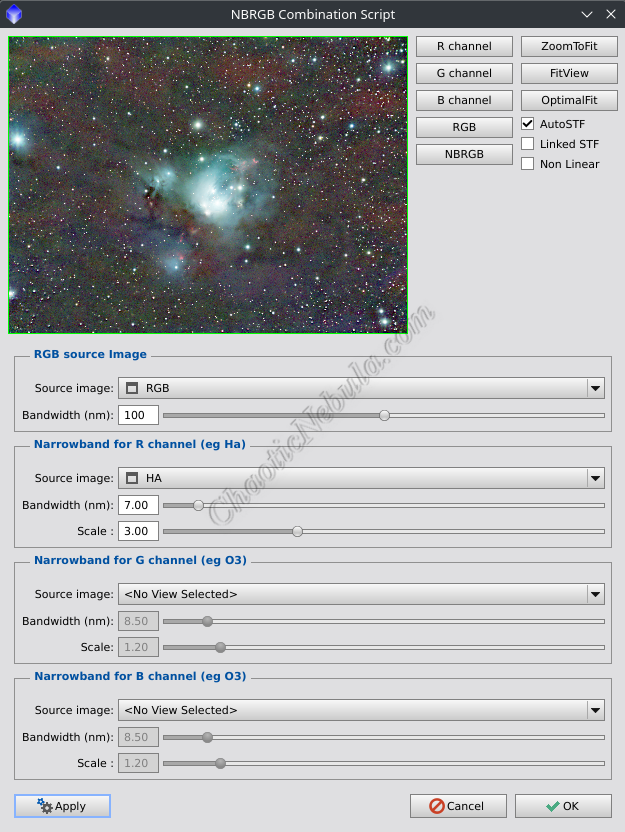
Here’s a breakdown of the key settings and their functions:
- RGB Source Image: This is your main broadband image, usually captured with color filters like red, green, and blue (RGB).
- Narrowband for R channel: This is the image captured with your narrowband filter, most commonly hydrogen alpha (Ha) for emission nebulae.
- Bandwidth (nm): This value specifies the bandwidth of your narrowband filter in nanometers (nm). Common Ha filter bandwidths are either 7nm and 3nm. Oxygen-III narrowband filters are usually in a range between 7-13nm. Sulfur II narrowband filters typically has a a bandwidth around 10nm, targeting the green emission line of ionized sulfur. An accurate value helps the script perform the integration more precisely.
- Scale: This setting acts as a multiplier, determining the intensity of the narrowband data’s contribution to the final image. A scale below 1 makes the emission nebula more subtle. A scale above 1 creates a more pronounced nebula, potentially with more vibrant colors.
With the settings configured, the buttons next to the preview window shows what the output would be:
- R, G, B Channel Buttons: These buttons allow you to preview the integration of the narrowband data with each individual color channel of the RGB image. Only the buttons that have narrowband data associated are usable.
- RGB Button: This button previews the combined image without any channel replacement.
- NBRGB Button: This is the key button for performing the actual integration of the narrowband data with the RGB image.
The only adjustment available in the NGRGB Combination script is to adjust the scale value.
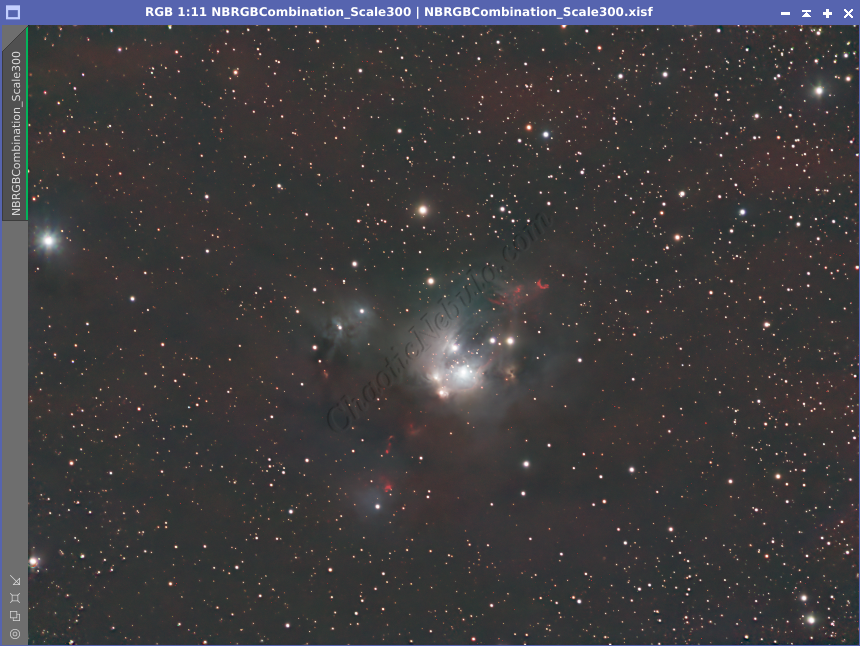
The channels in the final image already went through a linear fit process. To compare the results, use the Screen Transfer Function with the channels linked.
For faint emission nebulae, you might need a higher scale to bring out the details. For very bright emission nebulae, a lower scale might be preferable to avoid an overpowering red hue. Ultimately, the scale also plays a role in achieving the desired aesthetic balance in your image. You might experiment with different values to see what works best for your taste.
TIPS for NGRGB Combination Script
- Starless Images: It is often best to use the NGRGB Combination Script with starless images (using a tool like StarNet). If stars are in the images, the narrowband integration will affect the star color.
- Scale: Trying to find the right scale value, start with a conservative value around 1.0. Increase the value in increments of 1-2. After each application, hit the Apply button and OK. This will create a new image making it easier to compare values. Although the script does include
- Start with a Conservative Value: Begin with a scale value around 1.0 or slightly lower. This is a good starting point to assess the impact of the narrowband data without overpowering the RGB information.
- Make Gradual Adjustments: Once you have a base image, you can make small adjustments to the scale value and see how it affects the emission nebula’s prominence and color balance.
- Previews: Although the NBRGB script offers a preview button, it doesn’t provide the detailed required. The auto stretch capability does not allow customization, resulting in overstretched images. The preview window is also difficult to compare before/after easily. A better option is to create multiple NBRGB images with different settings and comparing them outside of the script.
Option 2: Screen Blend Method
The screen blend mode is a technique used to lighten or brighten specific areas of an image by combining it with another image. It works by inverting both images, multiplying them together, and then inverting the result again. Areas with lighter pixels in either image will become even lighter in the final blend. This is because multiplying lighter values together results in an even lighter value.
The Screen Blend method uses Pixel Math to do a screen blend with the Red and Hydrogen-Alpha channels, or the Green and Oxygen-III channels, or the Blue and Oxygen-III channels.
The manual formula for doing a screen blend is as follows: “~(~BroadbandChannel * ~NarrowbandChannel). The “~” sign means to invert the image. So this formula means to invert the broadband channel and multiply it by the inverted narrowband channel. The result of the multiplication should be inverted. The order of the channels in the formula is irrelevant.
By applying this formula manually, it is easy to compare the narrowband baseline, the broadband baseline, and the screen blend result
However, that formula requires additional steps after the enhanced broadband image is created. It must go through another round of linear fit. An alternative is to use the Pixel Math generator command that combines images together with the screen method. It is as follows “combine(BroadbandChannel, NarrowbandChannel, op_screen())”.
To use this method, do the following:
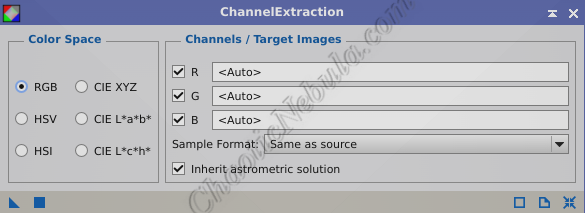
- Step 1: If the image is color, use Channel Extraction to separate the image into Red, Green, and Blue channels.
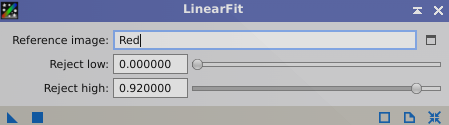
- Step 2: The overall brightness and signal strength between the broadband channel (red) and narrowband channel (hydrogen-alpha) needs to be aligned. Use the Linear Fit tool (Process – Color Calibration – Linear Fit) to use the broadband channel (red) as the reference when applying to the narrowband channel (hydrogen-alpha).
- Step 3: With Pixel Math (Process – Pixel Math), use the screen blend formula to merge the two channels together. The formula is as follows: “combine(BroadbandChannel, NarrowbandChannel, op_screen())”. The order of the channels in the formula is irrelevant. Have Pixel Math create a new RGB color image before applying it.
The HA channel picked up some of the background clouds around the nebula. In addition, a few of the areas within the heart of the nebula are also brighter.

When the enhanced red is combined with the green and blue channels, the changes in the red intensity is noticeable but very subtle. A stronger hydrogen-alpha signal would strengthen the red channel even further.
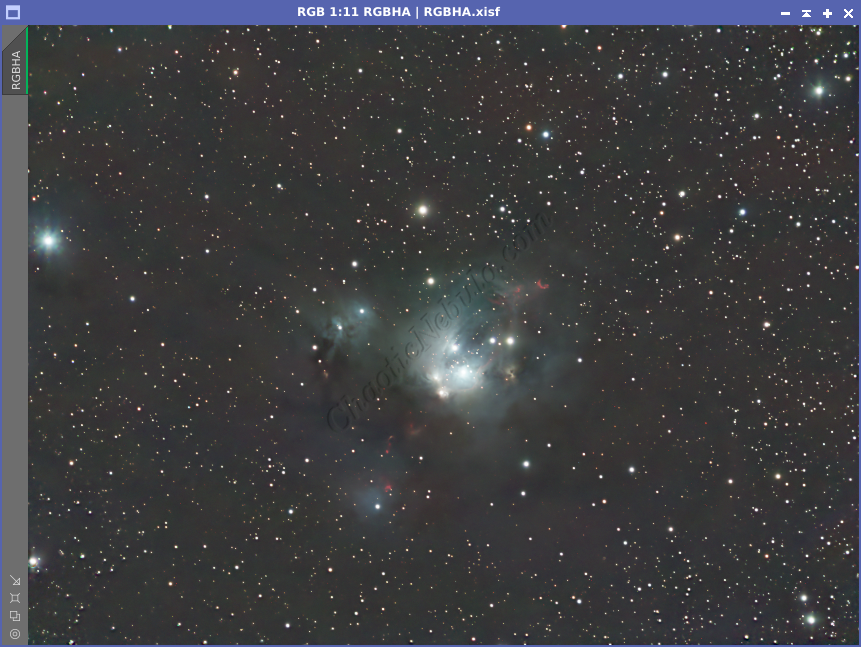
Option 3: Pixel Replacement
The pixel replacement method is a simple technique for integrating narrowband and broadband channels to help reduce color overpowering where the broadband and narrowband channels have strong signals in the same areas. This often gives nebula a strong reddish hue when integrated with the blue and green channels.
This blend method is easily achieved by using the brighter of the narrowband and broadband pixels. This approach simply adds in brighter narrowband pixel values where the broadband pixel values are dimmer.
- Step 1: If the image is color, use Channel Extraction to separate the image into Red, Green, and Blue channels.
- Step 2: The overall brightness and signal strength between the broadband channels (red, green, and blue) and narrowband channel (Hydrogen-Alpha, Oxygen-III) needs to be aligned. Use the Linear Fit tool (Process – Color Calibration – Linear Fit) select one broadband channel as the reference when applying to the remaining broadband and narrowband channels.
- Step 3: With Pixel Math (Process – Pixel Math), use the following formulas. Enable the option to create a new image in the RGB color space
- R/K: iif(HA > Red, HA, Red)
This means, for each pixel value, if HA pixel is stronger than the Red pixel, use the HA pixel, else use the Red Pixel. This formula can also be defined as “max(HA, Red)” - G: Green
- B: Blue
- R/K: iif(HA > Red, HA, Red)
This approach has the following result.
Option 4: Pixel Replacement Multiplier
The pixel replacement multiplier method provides the ability to adjust the strength of the narrowband channel. To make this possible, the narrowband channel must be modified to only include narrowband data. By removing the sky glow, deviations (variations) in the narrowband channel, which are likely due to the emission nebula details, are visible. They can have a greater influence on the integrated image due to an adjustable multiplier.
To calculate the sky background, the median value (middle value when all pixel values are arranged in order from lowest to highest) of all pixels within the narrowband image is calculated and subtracted. The median is often used as a background estimate because it’s less sensitive to outliers (very bright or faint pixels) compared to the mean (average). And in the following example, the median helps preserve the clouds surrounding the nebula.
Although it sounds complex, it is very easy and fast.
- Step 1: If the image is color, use Channel Extraction to separate the image into Red, Green, and Blue channels.
- Step 2: The overall brightness and signal strength between the broadband channels (red, green, and blue) and narrowband channel (Hydrogen-Alpha, Oxygen-III) needs to be aligned. Use the Linear Fit tool (Process – Color Calibration – Linear Fit) select one broadband channel as the reference when applying to the remaining broadband and narrowband channels.
- Step 3: With Pixel Math (Process – Pixel Math), use the following formula. Enable the option to create a new image in the RGB color space
- R/K: iif( HA > Red, Red + (Strength * (HA – med(HA))), Red)
The HA – med(HA) is the new narrowband channel with the sky glow removed. Strength is the multiplier to increase the power of the narrowband pixels. A value of 1 is no adjustment. Less than one reduces the narrowband impact and greater than 1 increases the strength. - G: Green
- B: Blue
- R/K: iif( HA > Red, Red + (Strength * (HA – med(HA))), Red)
Multiple integrated images are quickly created by changing the value for the Strength.