When doing mosaics of deep sky objects, integrating different panels into one is fairly easy as we align the images based on stars. However, in lunar photographs, there are no stars, which means we need a completely different approach.
Crop
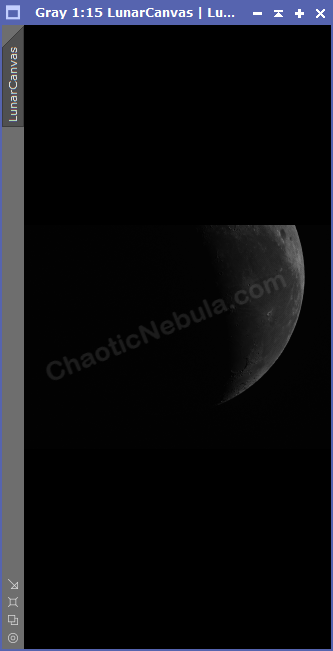
Part of the lunar mosaic creation in PixInsight is to quickly create a reference frame based on our individual lunar frames. But first, this reference frame must have a canvas large enough to encompass all frames within the lunar mosaic.
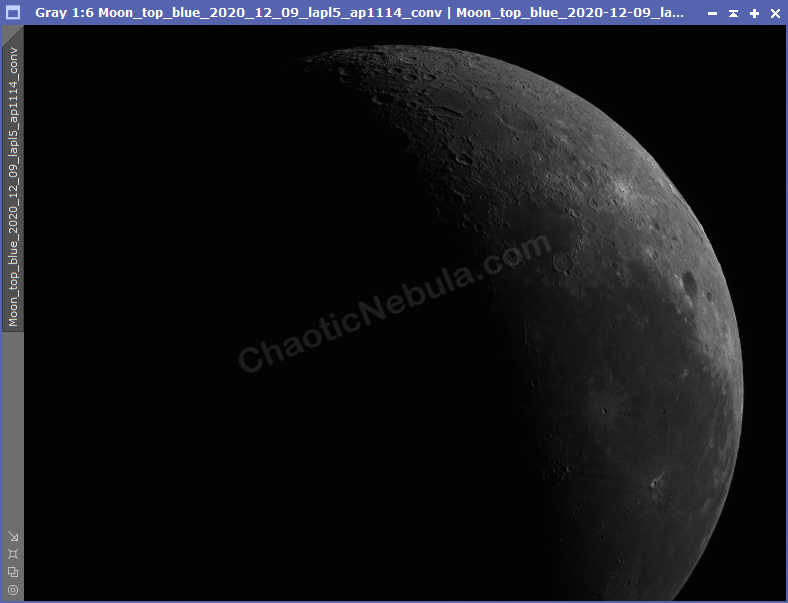

We first duplicate one of these images. Then use the PixInsight Crop process to add space around the moon to include all of the lunar frames
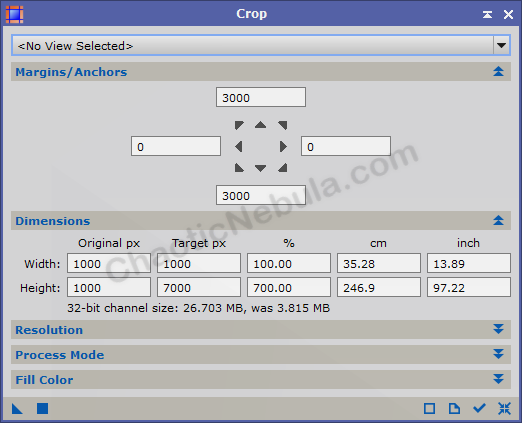
Save this file as Lunar Canvas.
FFT Registration
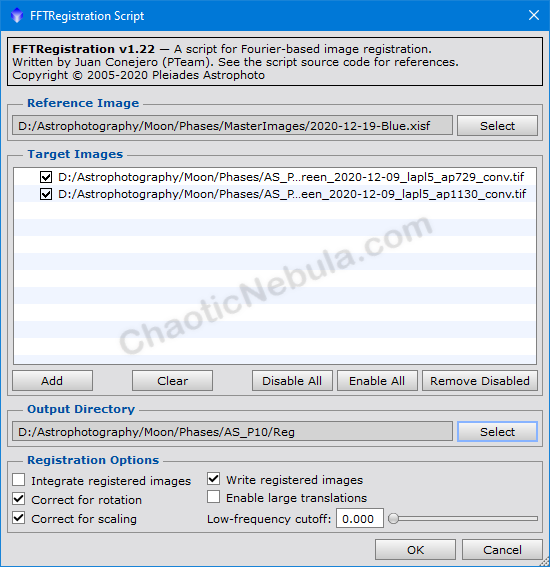
The FFTRegistration script (Scripts – Utilities – FFTRegistration) aligns our images so we can later integrate with Gradient Merge Mosaic.
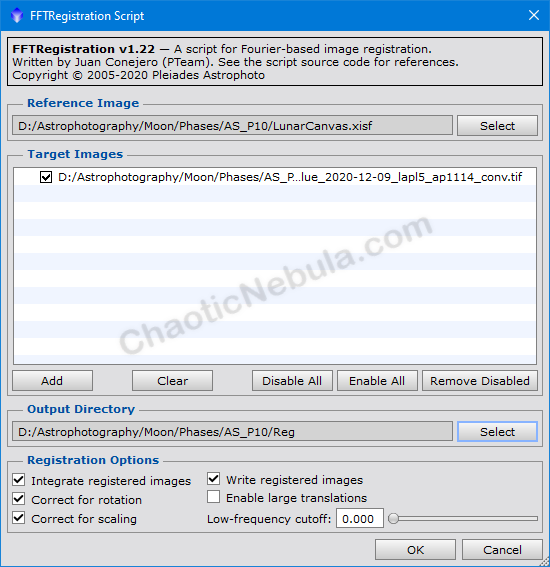
FFTRegistration will use a reference frame (Lunar Canvas we created in the Crop section) as the baseline image to align the other frames. Since our reference frame is one of our two frames to merge, we only need to align the other frame.
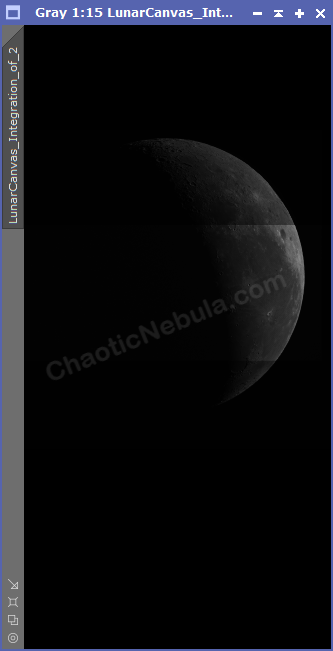
- Integrated registered images: This will create a rough integrated image, which is good to see how the finished product will look.
- Correct for Rotation: Enable this so that the frames are aligned
- Correct for Scaling: Enable this so that the frames are scaled to the same size.
- Write registered Images: Enable this, with an output directory, to automatically save the registered images.
Once complete, we have the following items.
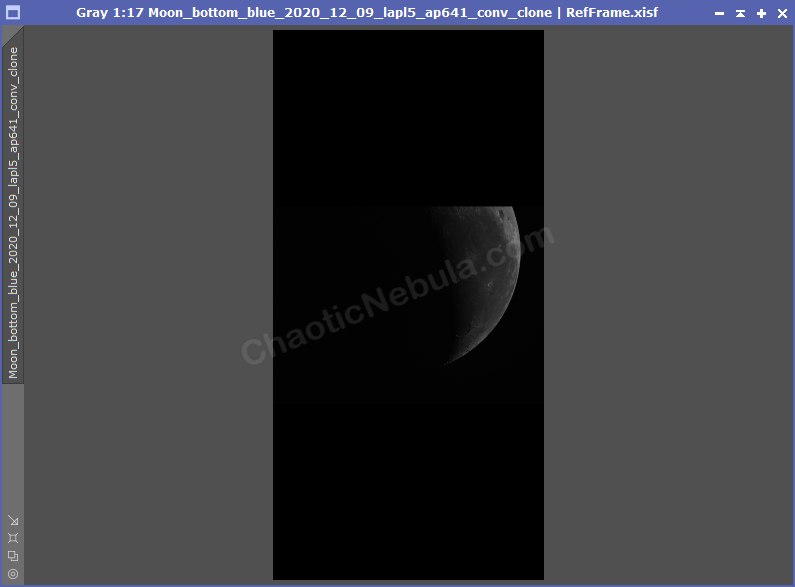
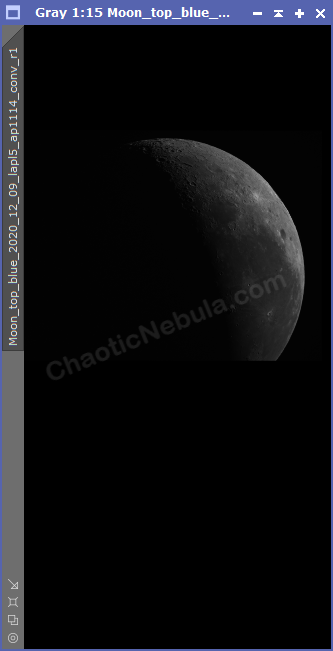
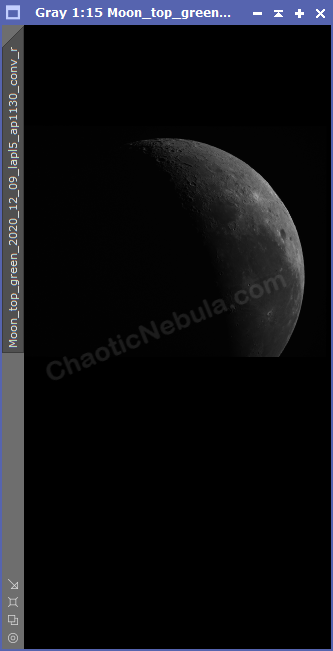
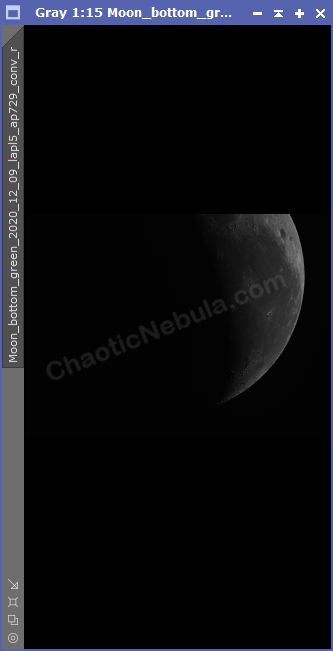
- The reference frame is our image we generated from the Crop tool
- The Alignment frame(s) are the images we want to align with our reference frame. If you compare it to the original, the canvas increased in size and the position of the moon changed.
- Integrated Frame is a rough example of how the images merged. We will be able to clear up the harsh transitions with Gradient Merge Mosaic.
Gradient Merge Mosaic
How that we have our frames aligned, we can merge them, with smooth transitions, with PixInsight Gradient Merge Mosaic.
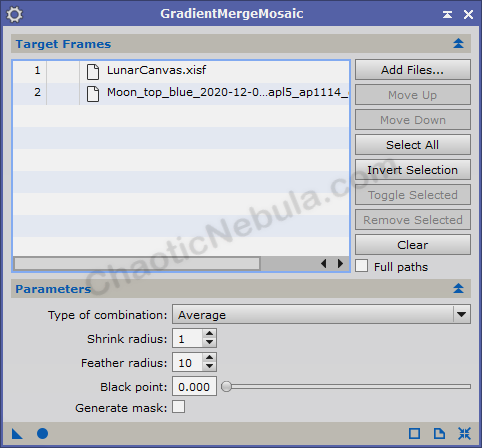

Once integrated, verify that the lines where the frames get integrated are smooth. If not, some of the Gradient Merge Mosaic parameters might need to be modified.
- Type of combination: Average or Overlay. Average blends the edges of the two panels together while overlay places one on top of the other. Overlay often results in harsh lines where the panels meet.
- Feather Radius: Increase the feather radius to increase the area used to smooth between the edges. The default of 10 works, well, but might need to increase to 25, 50 or even 100.
Tips
Once you have a final image from Gradient Merge Mosaic, you must do this for each filter. However, the output for Gradient Merge Mosaic can now be your reference frame, allowing you to align all frames with the reference at once.
- Reference Image: The output from Gradient Merge Mosaic.
- Target Frames: For the remaining filters, add all images.
- Integrate Registered Images: No need to enable this.
- Correct for Rotation: Enable this so that the frames are aligned
- Correct for Scaling: Enable this so that the frames are scaled to the same size.
- Write registered Images: Enable this, with an output directory, to automatically save the registered images.

The added benefit of this is that the frames for each filter will now be aligned, making channel integration much easier.
What’s Next
We need to do this process for each filter. Once done, we can continue with enhancing the details with Deconvolution.