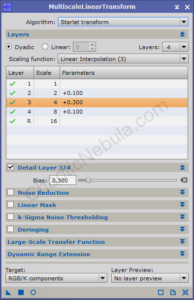
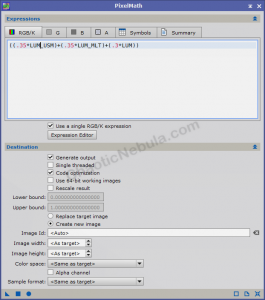
The next step in building an enhanced luminance image is to sharpen the details within the high signal areas. I do a blending of the original luminance image, plus Unsharp Mask, and Multiscale Linear Transform.
Mask Creation
We only want to sharpen the high signal areas of the image, which means we must protect the background. To accomplish this, we create a clone of the luminance image.
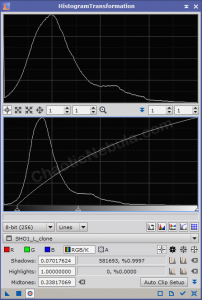
Within histogram transformation, we do the following:
- Auto clip the shadows
- Adjust mid-tone slider (middle triangle in graph) so the peak hits somewhere between the first and second vertical bar. You only want to focus on the bright areas, so avoid stretching too much.

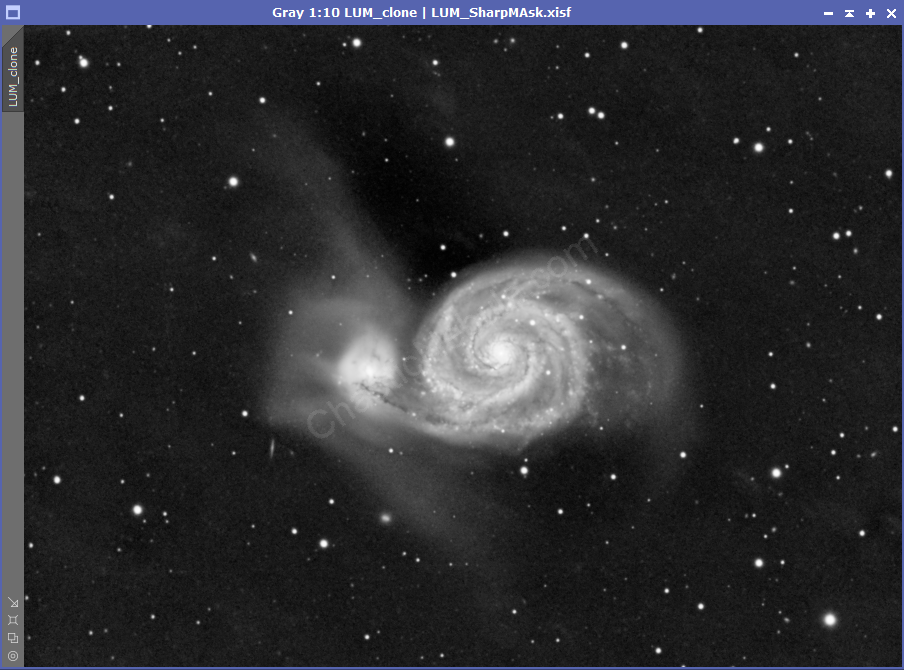
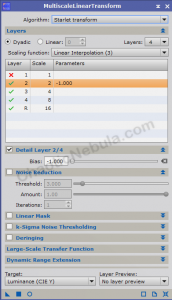
Once this gets applied to our luminance clone, we now need to blur our image slightly. If not, we are masking pixels, which will reduce the impact sharpening will have in our enhanced luminance. To blur the mask, we use Multiscale linear transform.
Blurring effect is minimal. But if we zoom in, we can see the blurring effect
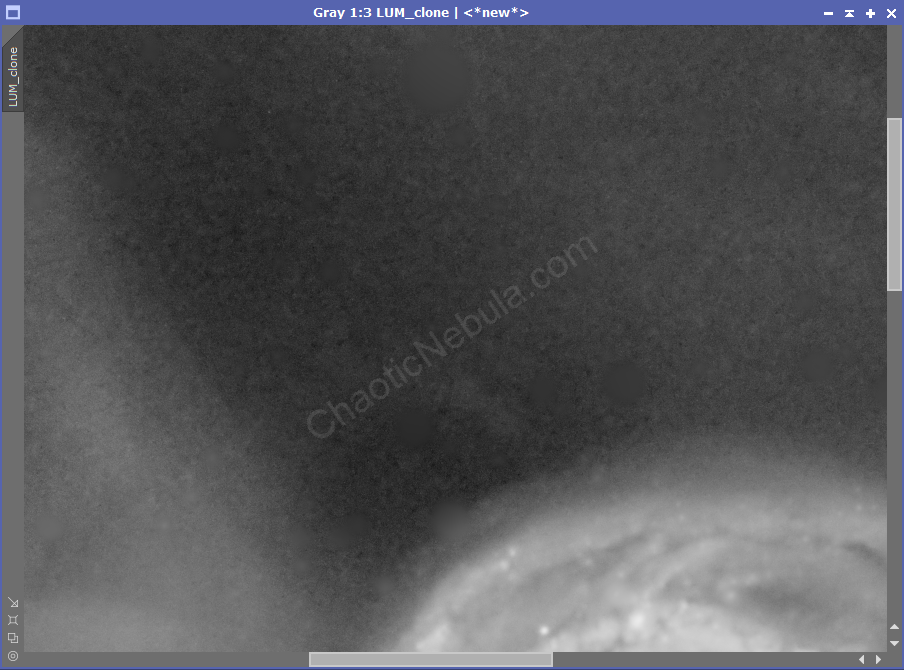
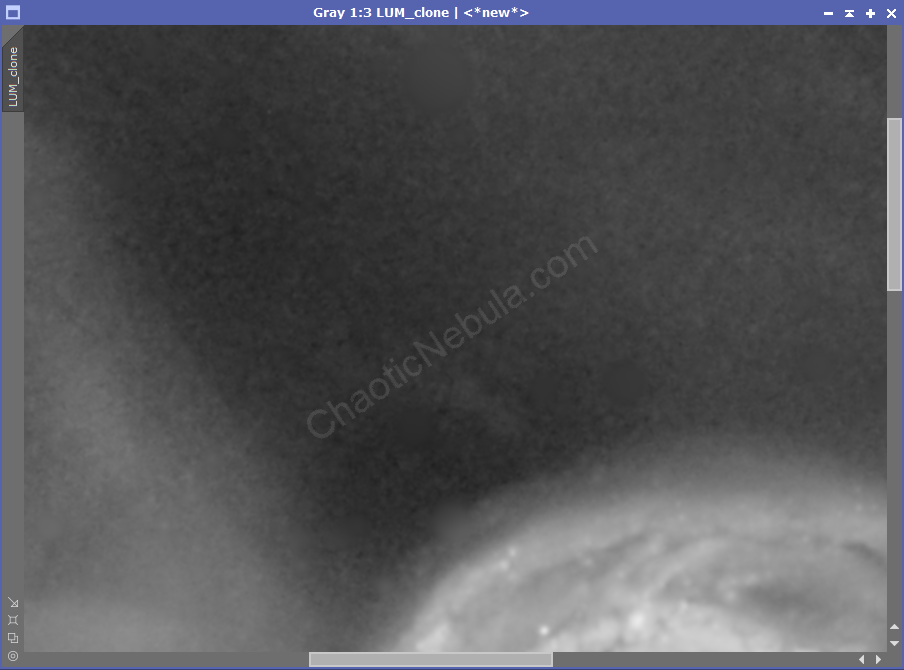
We’ve now created a mask that will protect our background so we can sharpen the high signal areas.
Unsharp Mask
The unsharp mask process is one option to bring out the details in our high signal areas. To use this
- Clone the LUM image and name it LUM_USM
- Apply the mask created in the previous step to protect the background
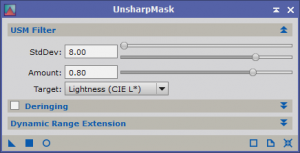
- Within the Unsharp Mask process, use the real-time preview window to see how the changes impact the image.
- Adjust amount to around 0.5
- Adjust StdDev until the preview looks good
- Apply to the image (LUM_USM)
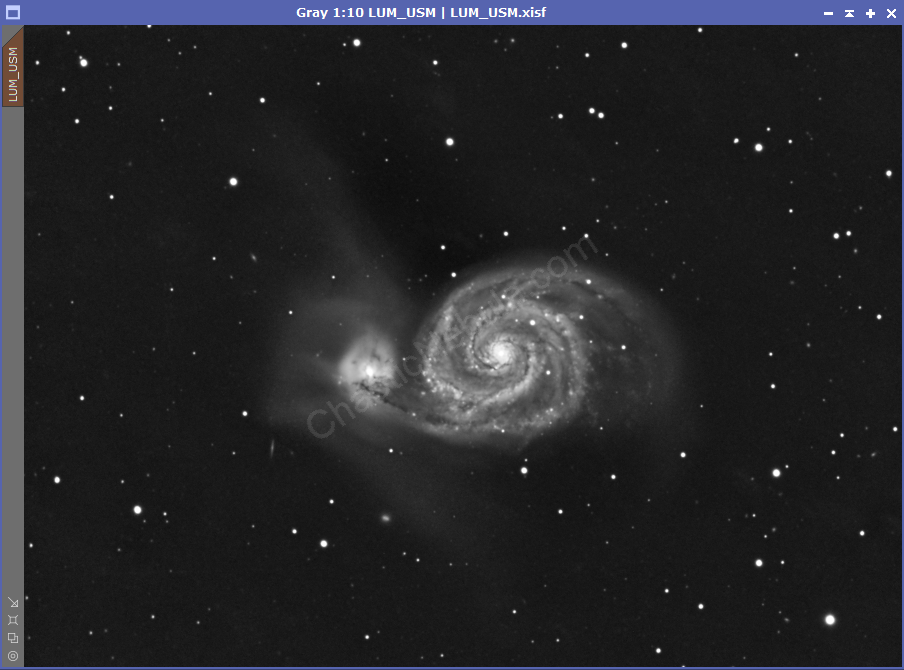
Based on the settings I used, this is the before and after zoomed in to see better:
Multiscale Linear Transform
The second approach for sharpening fine detail is to use the multiscale linear transform tool.
- Clone the LUM image and name it LUM_MLT
- Apply the mask created in the previous step to protect the background
- Within the Multiscale Linear Transform process, use the real-time preview window to see how the changes impact the image. (It might be useful to create a small preview window of the high signal areas to better see the changes)
- Skip layer 1 as it focuses on pixel-level details
- For each layer (2-4), increase the Detail Layer – bias slightly.
- As the layers increase, reduce the amount of bias slightly
- Adjust until the real-time preview is satisfactory
- Apply to the image (LUM_MLT)
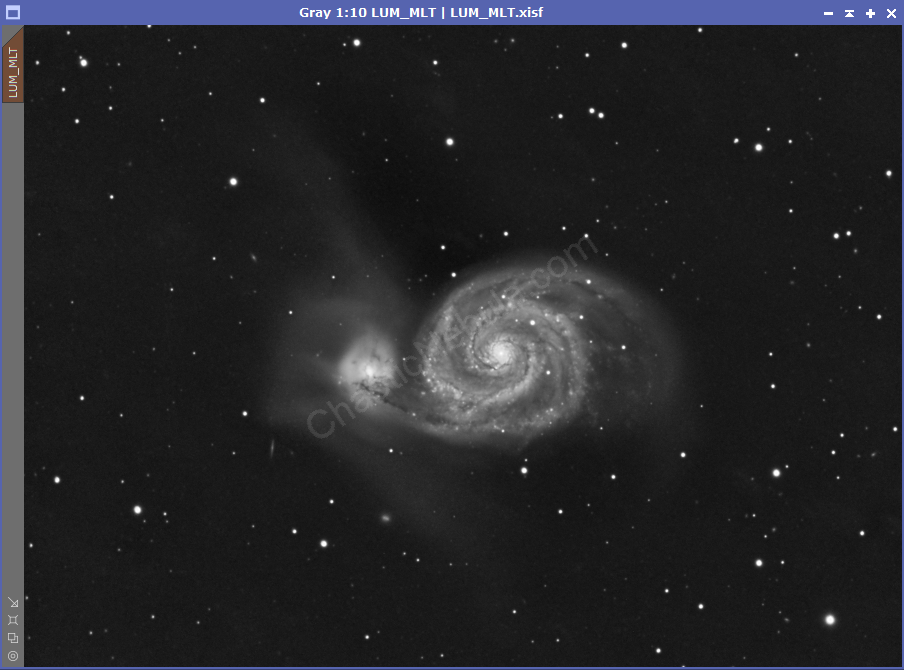
Based on the settings I used, this is the before and after zoomed in to see better:

Blending
The final step with sharpening our luminance image is to merge the all three images together
- LUM: Original Luminance image
- LUM_USM: Unsharp Mask luminance image
- LUM_MLT: Multiscale Linear Transform luminance image
We use Pixel Math to merge these together. Pixel Math allows us to select the strength of each image in the final, merged luminance. I often start with 30% for the original and 35% for USM and MLT images. These three together equals 100%
- Formula:
((.35*LUM_USM)+(.35*LUM_MLT)+(.3*LUM))
- Create new image
- Color Space: Same as target
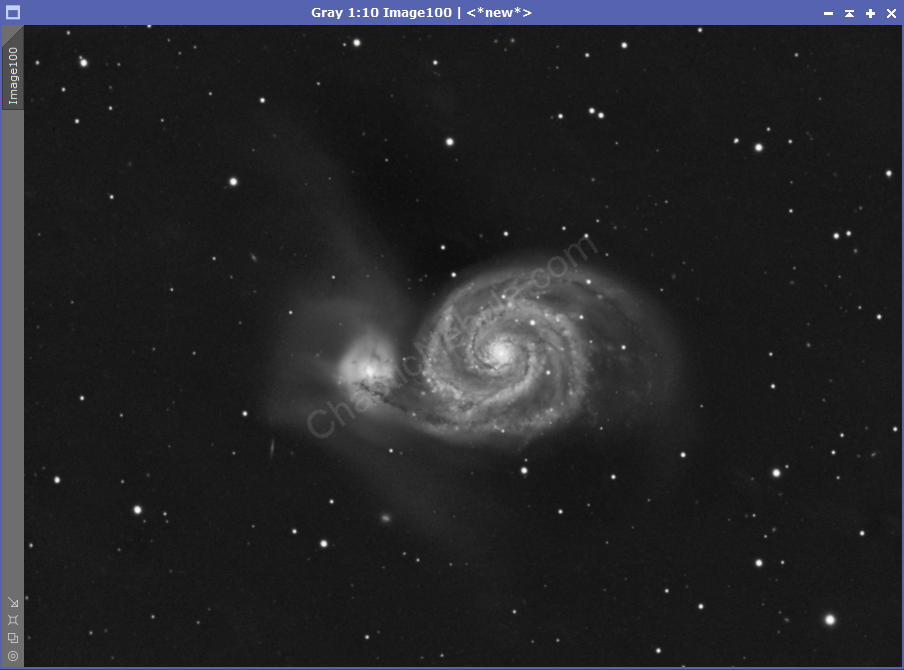
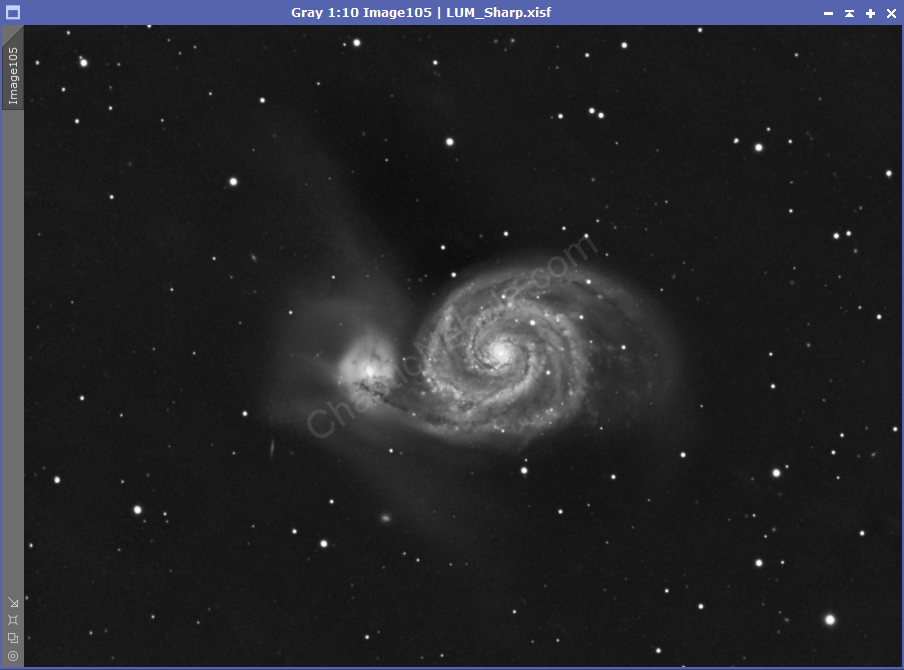
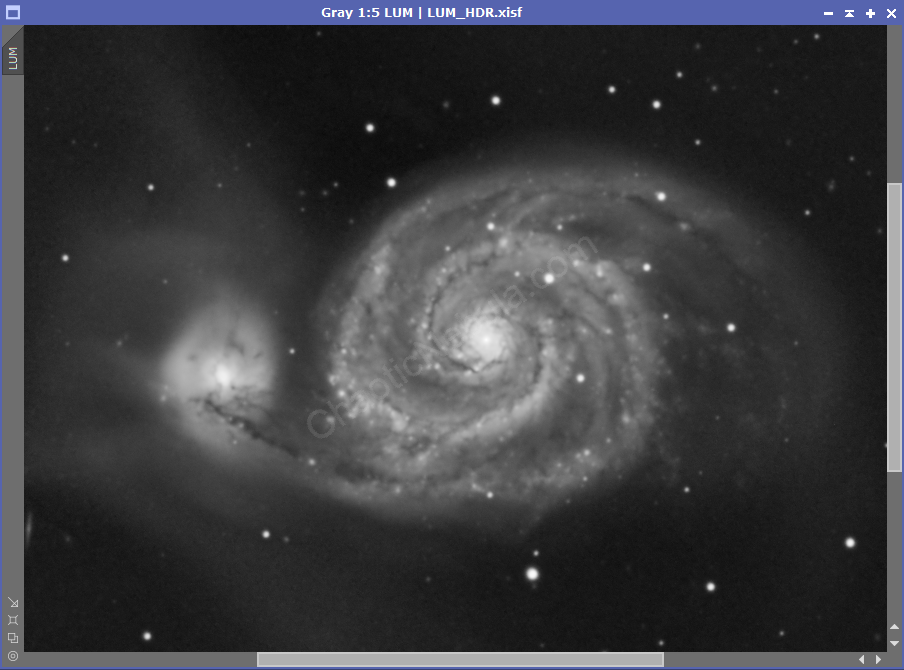
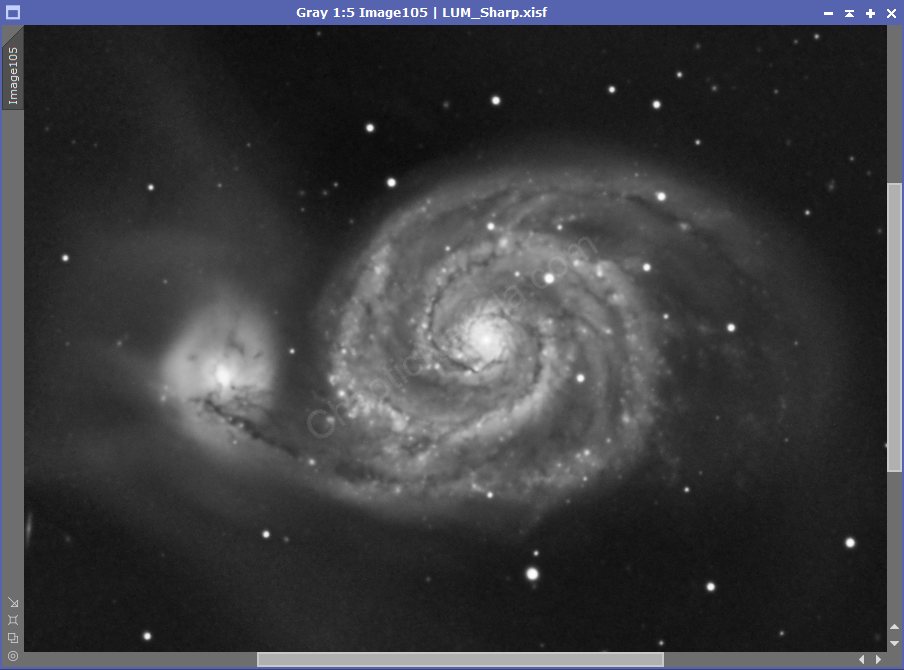
Once applied, all three images get integrated into a single enhanced luminance image. (Zoomed in comparison)


What’s Next
This file becomes the new enhanced luminance image. The next step is to improve the dark structures with the Dark Structure Enhance Script.
