As part of the image mosaic process, we need to find the center of the mosaic. With the coordinates already identifies by using the Image Plate Solver script, we can use that information to annotate our image with an astronomical grid.
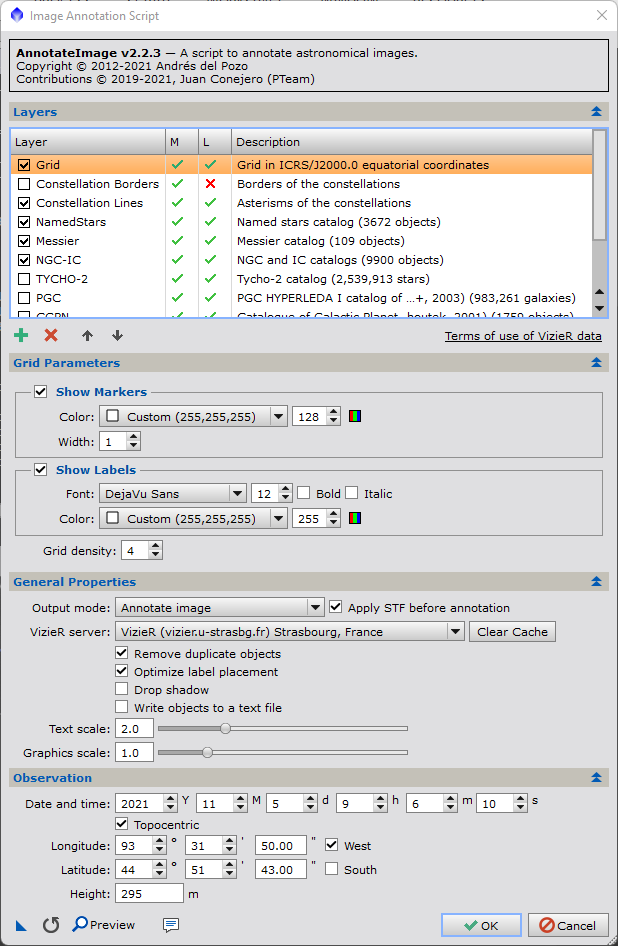
Image Annotation Script
The Image Annotation Script is different than the Annotation process. Annotation lets you manually place objects onto the image. The Image Annotation Script automatically places grids, names, patterns onto the image.
Make sure your image is open and then launch the script, which is located at Scripts – Render – AnnotateImage.
For our objective, the default settings are fine. Simply run the script.
Find Center of Mosaic
The result of the annotation script is a new image with a grid pattern applied. You can use this to find the coordinates of the center of your mosaic.
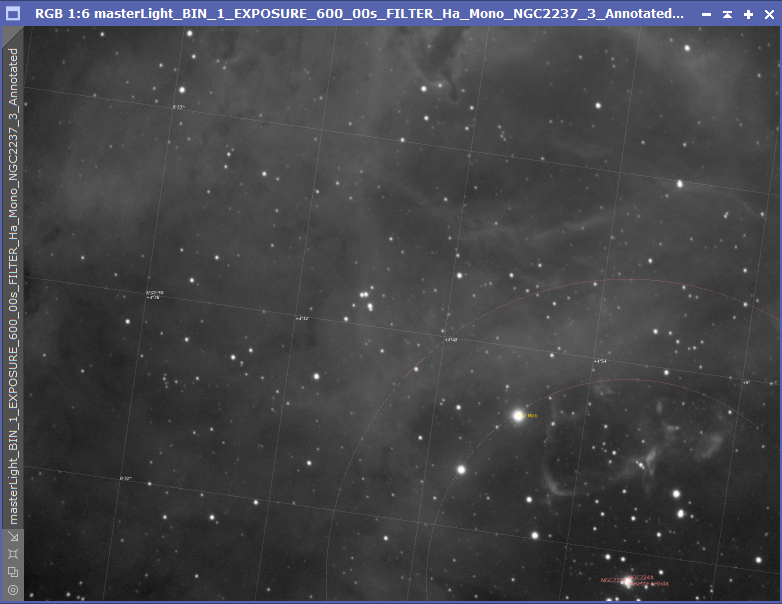
This particular mosaic is 4 panels wide and 2 panels tall. Based on the layout, the center of my mosaic is the bottom-right section of this image. The rough coordinates are:
- RA: 6:32
- Dec: 5:02
Mosaic Dimensions
Before we move onto the next step, we need to roughly determine how big the final mosaic will be. Within PixInsight, we can see that this image is 4537 pixels wide and 3450 pixels tall.
Based on the layout of the mosaic panels, my final image will be
- Wide: 4537*4 = 18,148 pixels
- Height: 3450*2 = 6,900 pixels
However, these numbers assume each panel has no overlap and no rotation. To account for this, it is best to add a sizeable buffer to avoid losing any edges.
Wide: 4537*4 = 18,148 pixels = 20,000 pixels
Height: 3450*2 = 6,900 pixels = 10,000 pixels
What’s Next
With the image solved, the center coordinates identified, and the overall size of the final mosaic calculated, we can generate a catalog of stars that we will align each panel onto.