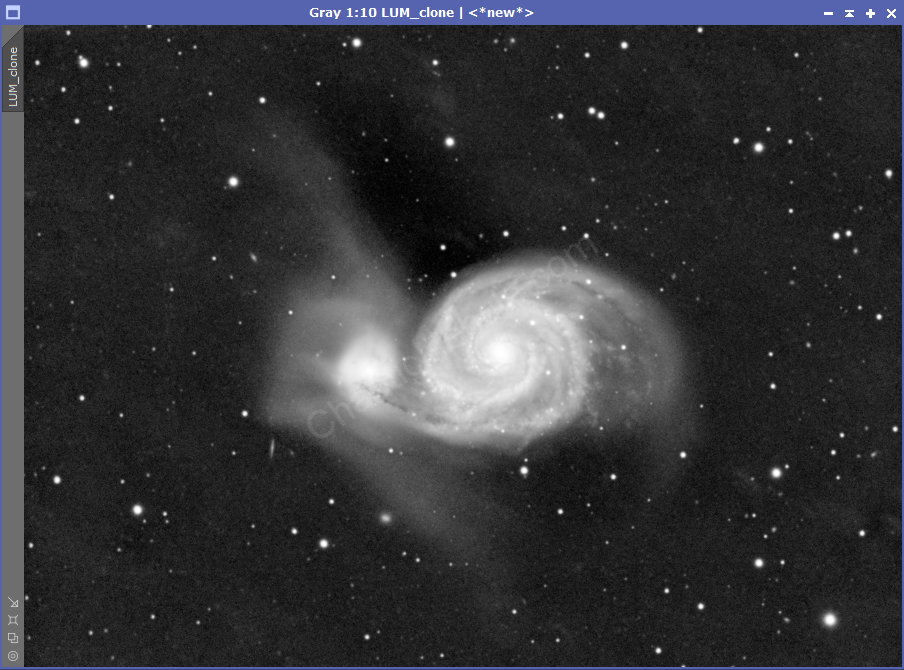
In many images, certain parts will be extremely bright. The extreme brightness can mask the details.
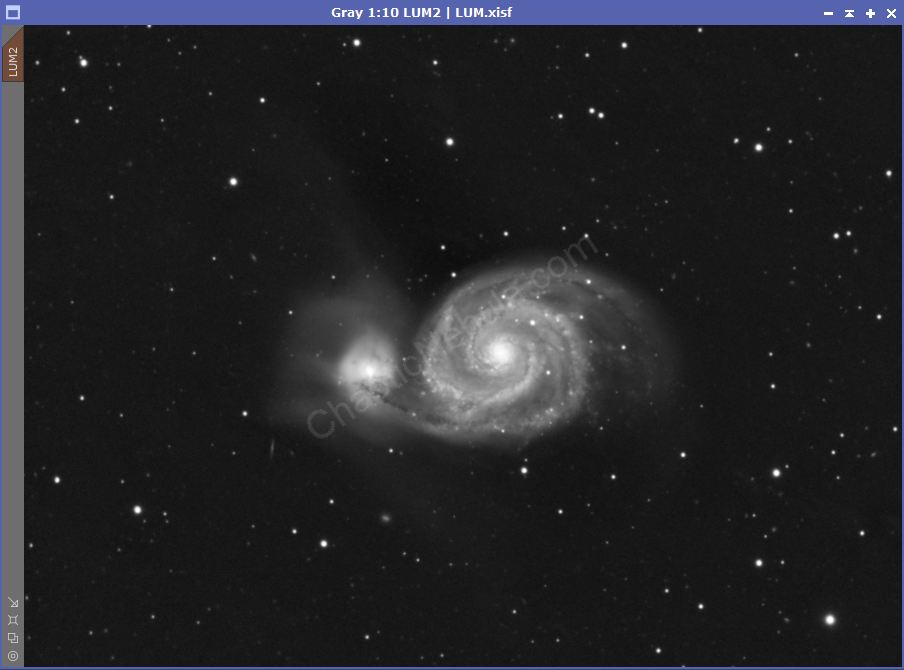
HDR Transformation allows those details to show.
Mask
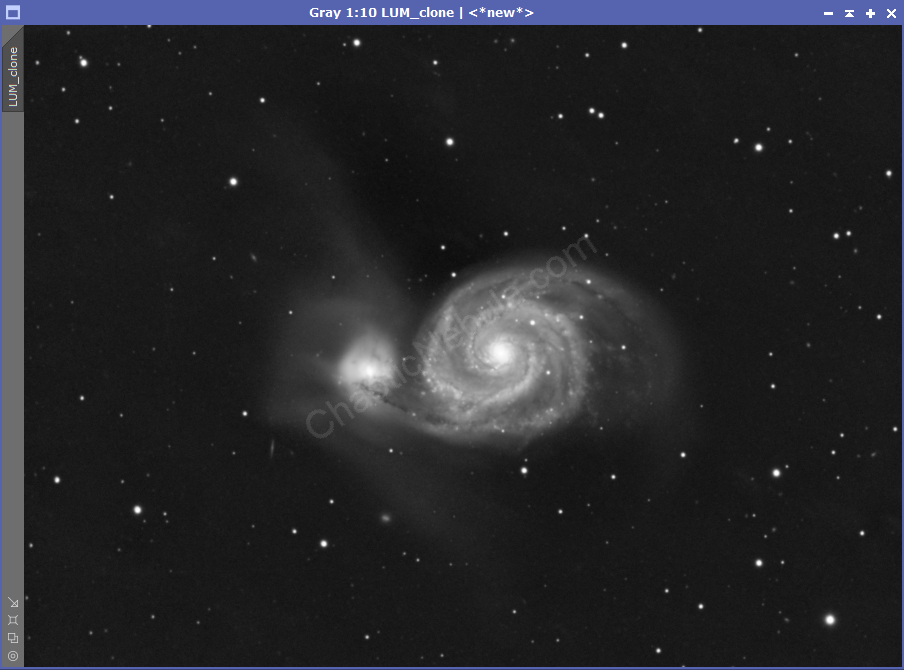
The first step is to create a mask to protect the background and focus our attention on the brighter areas of the image. We first start by creating a clone of our luminance channel.
Next, we need to emphasize the bright structure of our luminance image by clipping the dark regions and brightening the light regions. This is done with Histogram Transformation.
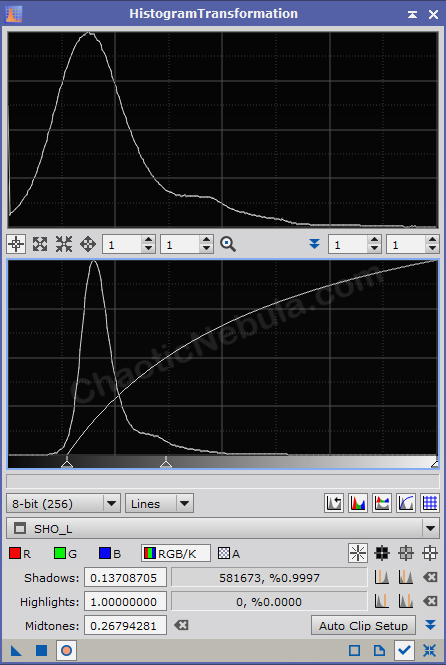
To do this, first, clip the shadows by using the bottom on the bottom half for Shadows. Then move the middle slider on the graph so that the peak between the first line up to midway in the second box.
HDR Multiscale Transform
With HDR Multiscale Transform, we are going to create 5 copies of our image. Call them HDR5, HDR6, HDR7, HDR8, and HDR9. Apply the mask to protect the background.
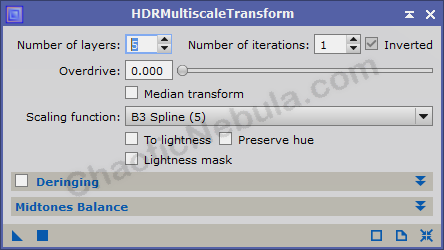
Apply HDR Multiscale Transform to each of the 5 duplicates, setting the number of layers based on the name of the image (HDR5 = 5 layers, HDR8 = 8 layers, etc).
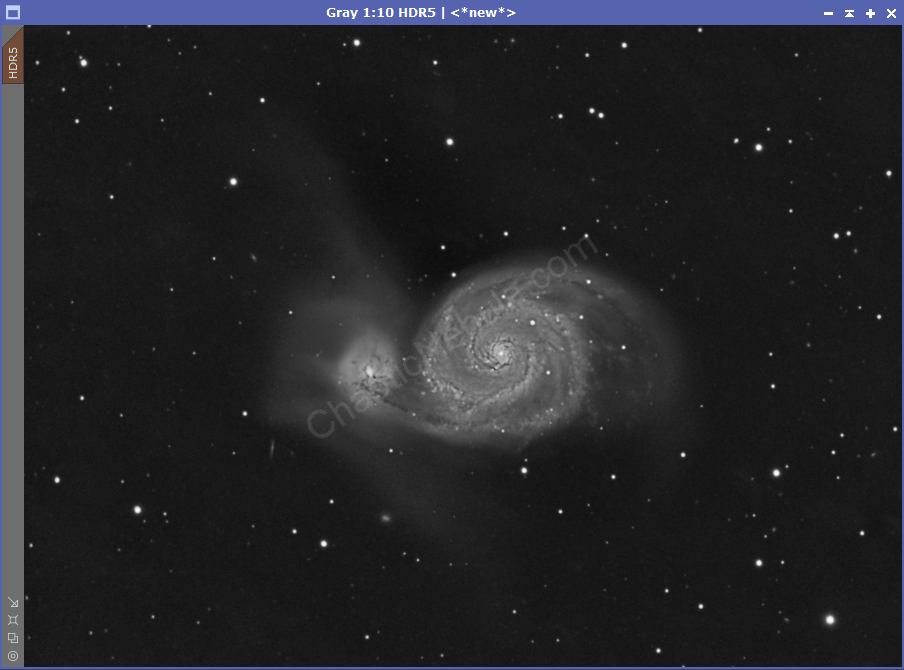


We now have 5 different images to blend with our our master image.
Blending
Each of our HDR Transform results shows differing levels of detail in the bright areas. We want to blend these into our luminance image as a single image would overpower the result and lose brightness or detail.
We use Pixel Math to merge these together. Pixel Math allows us to select the strength of each image in the final, merged luminance. I often start with the following:
- Original: 20%
- HDR 5 Layers: 10%
- HDR 6 Layers: 15%
- HDR 7 Layers: 15%
- HDR 8 Layers: 20%
- HDR 9 Layers: 20%
These together equals 100%
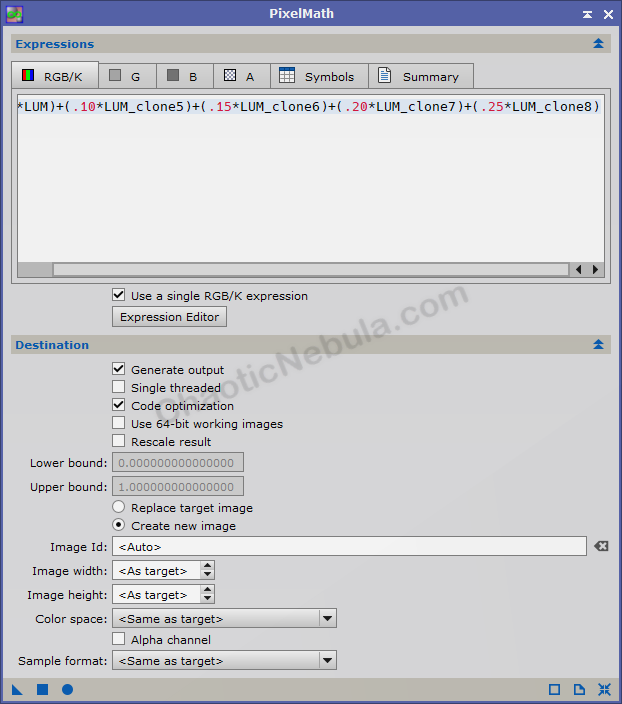
- Formula:
(.20*LUM)+(.10*HDR5)+(.15*HDR6)+(.15*HDR7)+(.20*HDR8)+(.20*HDR9)
- Create new image
- Color Space: Same as target
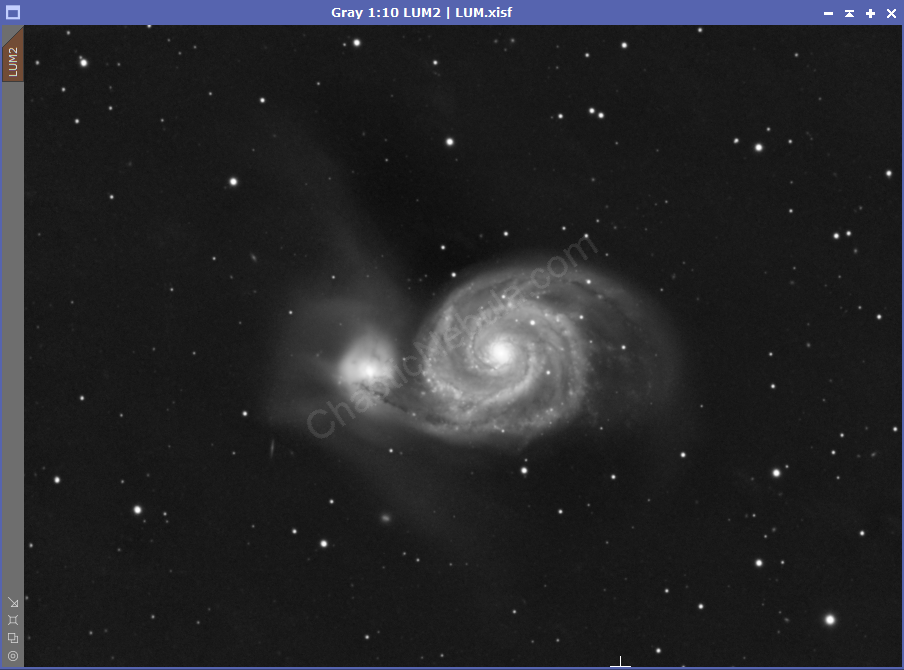
If we compare the new blended image to the original luminance, we get the following:
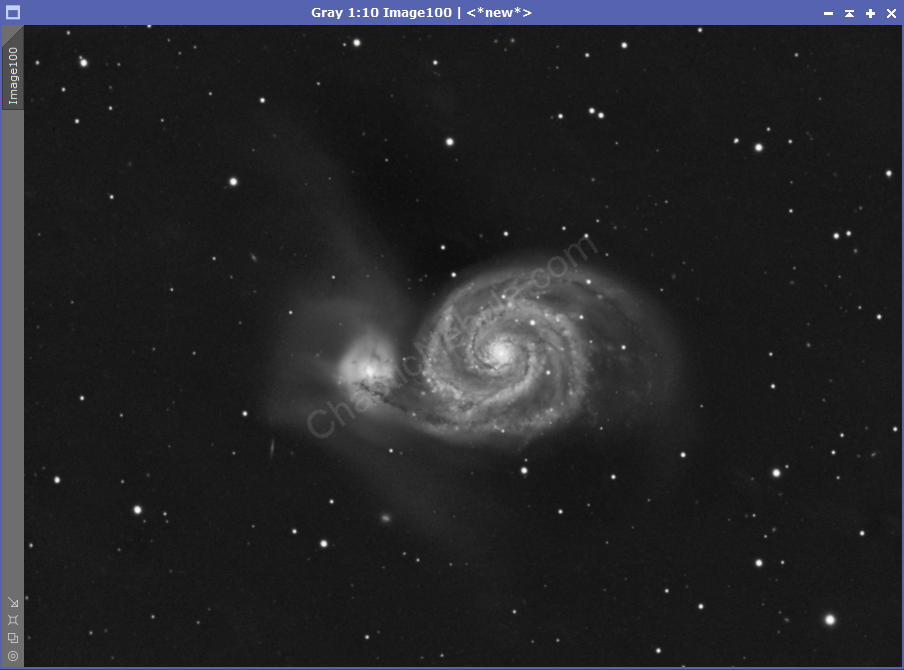
We can now see more detail within the center of the object.
What’s Next
The next step is to try and sharpen the details within our new luminance image.