Integrating our individual channels into a single image is a great accomplishment. Once we removed the sky background with Background Neutralization, we need to do our initial color balancing with Color Calibration.


Color Calibration Process
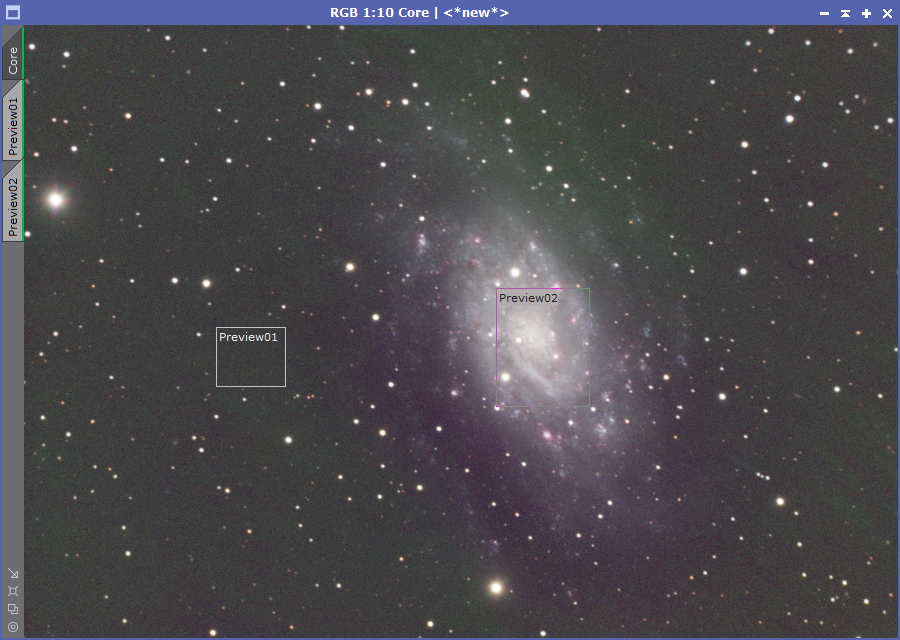
Setting up the color calibration process is extremely simple. The first step is to define a preview window containing only the background. Ideally, this should simply be the same preview window created for the background neutralization process.
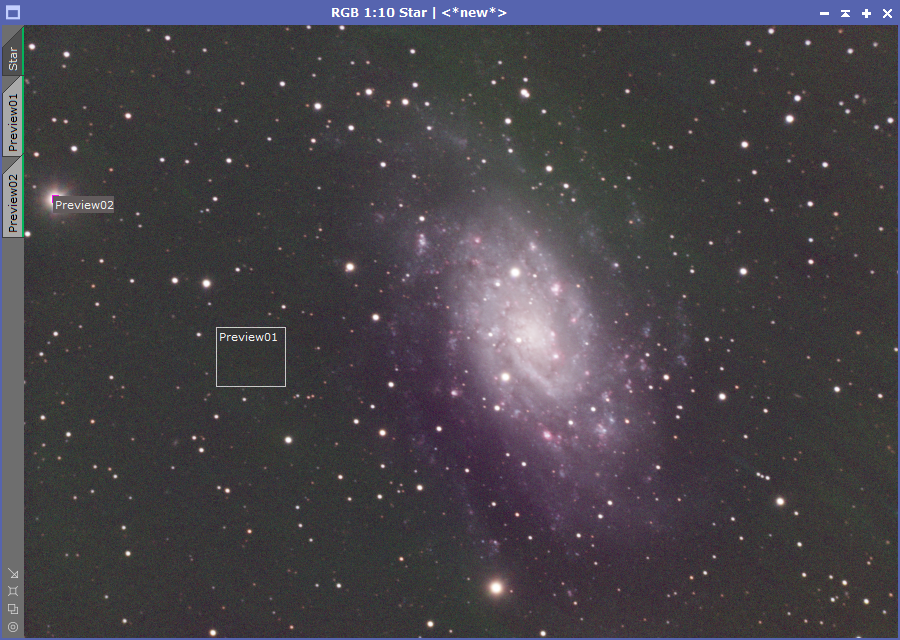
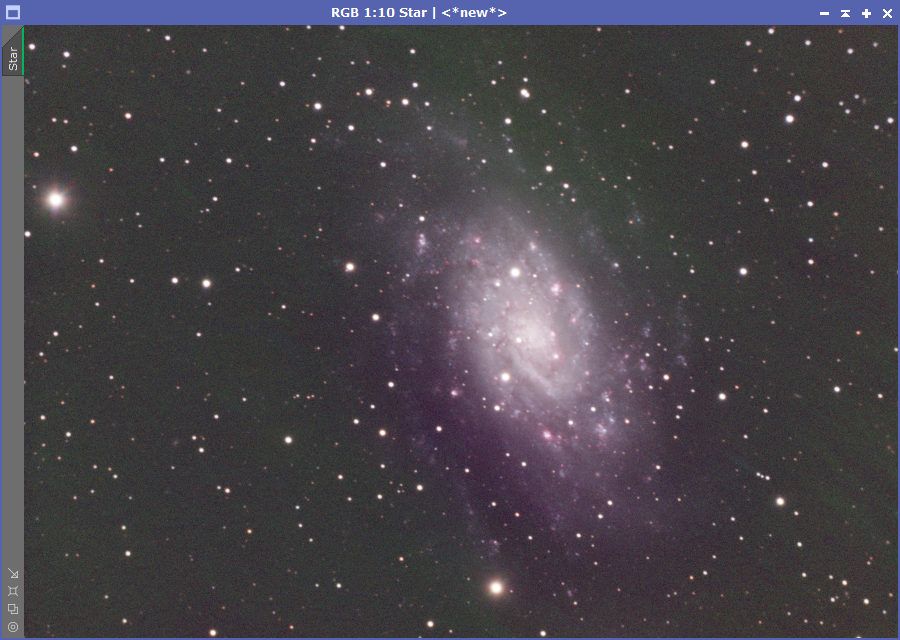
The next part is to select the part of the image that contains a reference to white. I’ve seen numerous approaches to this part of the setup. You can either use the entire image, a preview window of a white star, or a larger preview window of the core of a galaxy. They all will work, but will yield slightly different results.

Because the process is extremely fast, it is easy to try all three approaches.
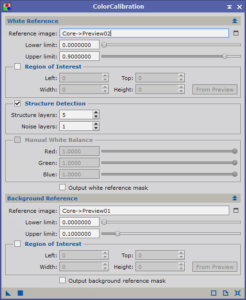
But once the preview windows are setup, we can now configure the Color Calibration process.
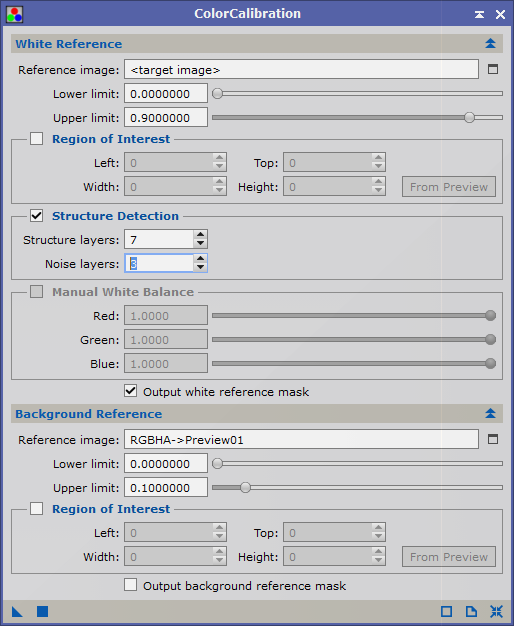
- White Reference Image: This will be the preview window or the entire image (Based on your decision)
- Background Reference Image: This will be the preview window of the sky background.
Simply apply this process to the image.
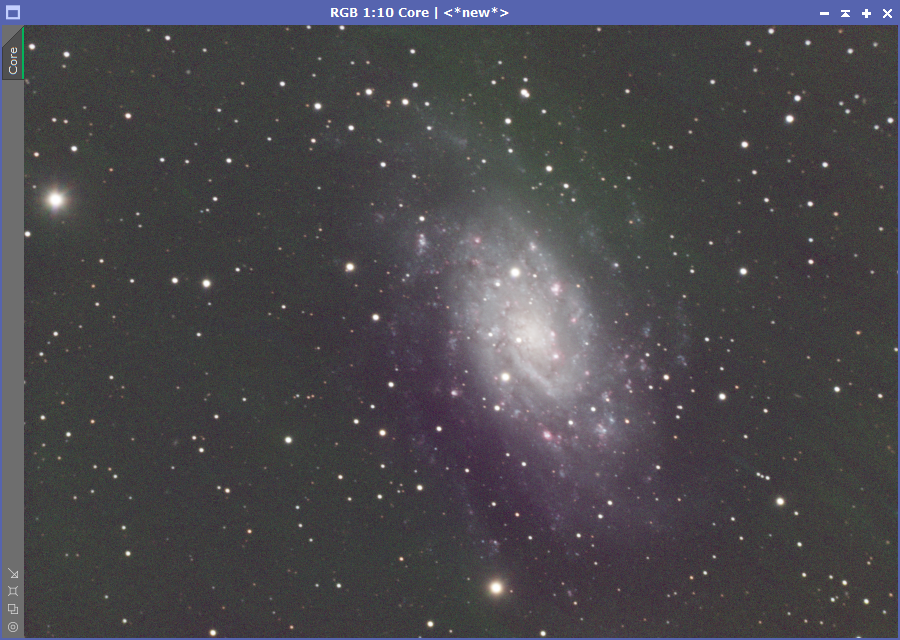
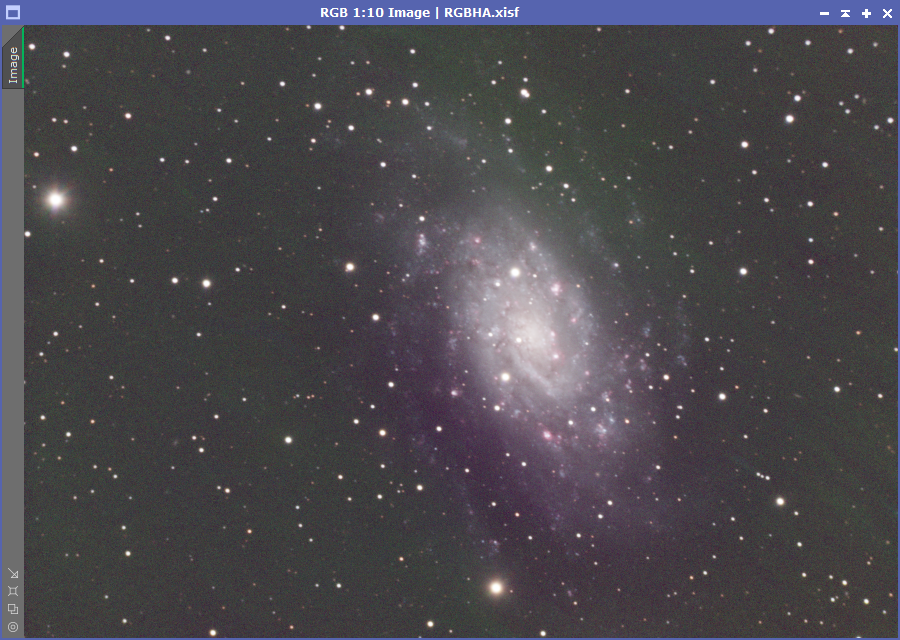
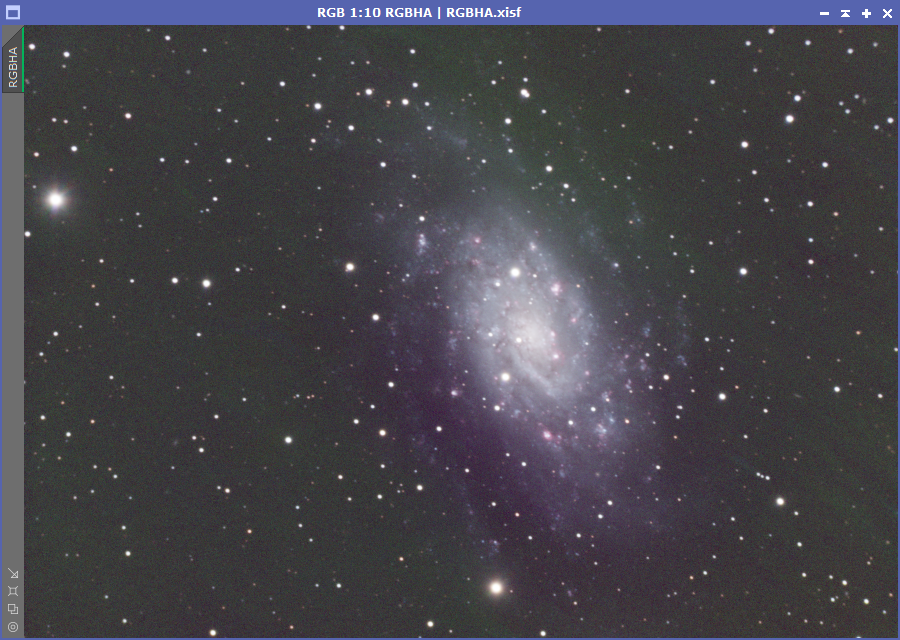
My preference is the image using a bright star as the reference as the color isn’t as varied across the galaxy as the other two options.
Advanced Parameters
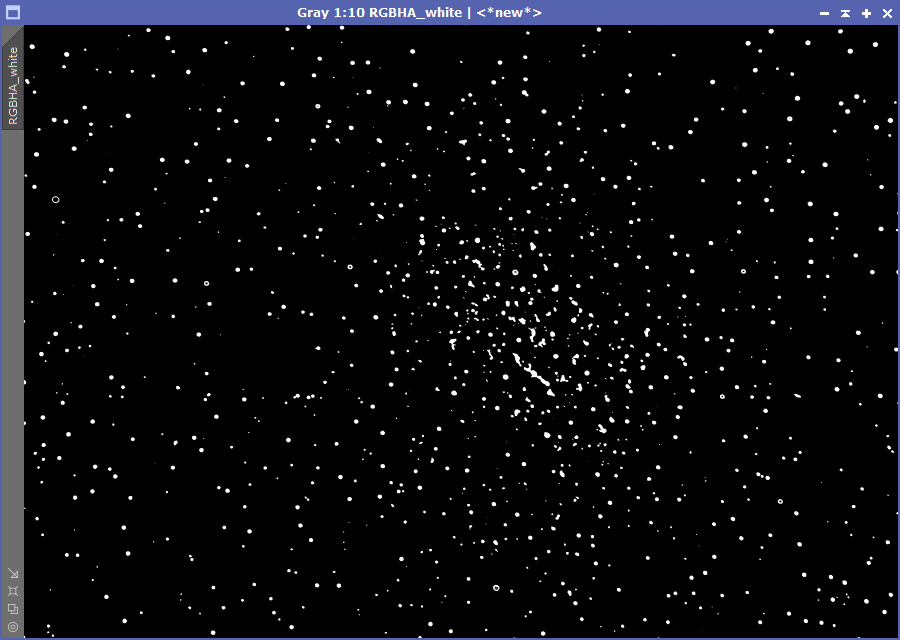
Although using a bright star was the better of the three options, I’m still not pleased with the result. In the Color Calibration process, there is a section focused on Structure Detection. I’m curious what it is detecting, so I select the option to “Output white reference mask”. I also set the white reference image to be the entire image instead of just the star.

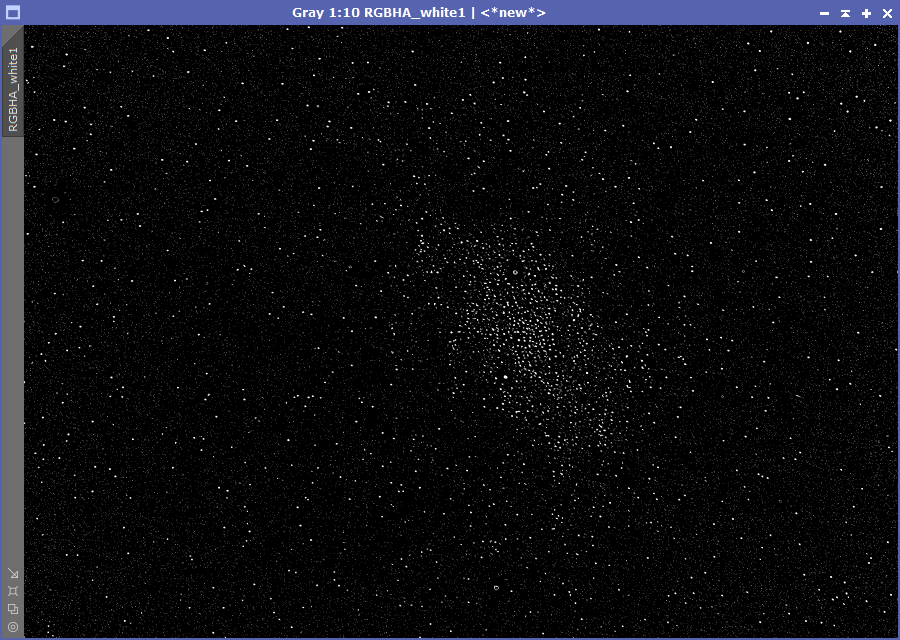
As you can see, the mask is picking up a lot of noise. By increasing the structure size and noise level, my structure mask changes to better align with our brightest areas.
This results in an even better image.
What’s Next
With color calibration complete, we can now start enhancing the image, with the first part using Curves Transformation for better Color Saturation.