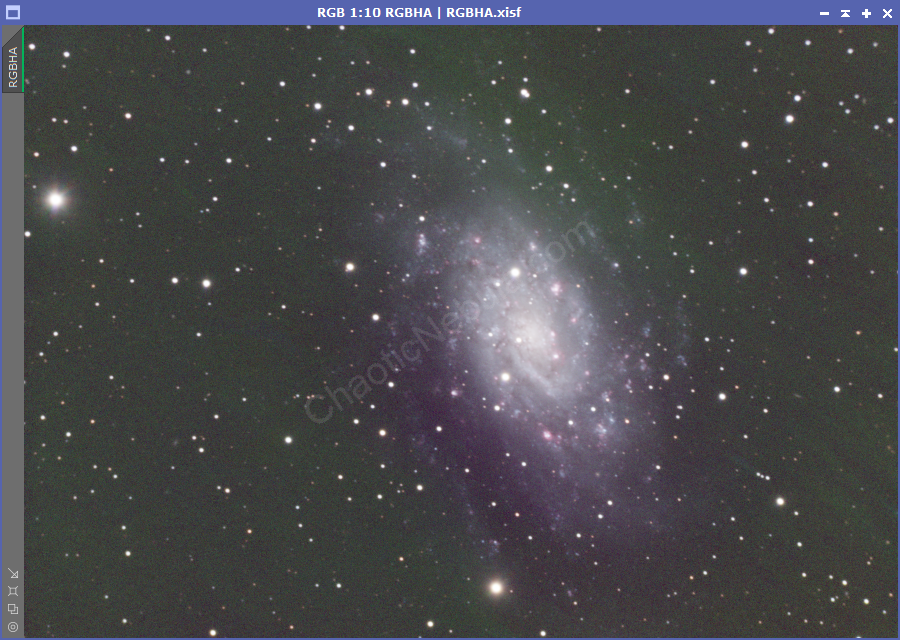
Once we’ve integrated our color channels into a single image, the initial impressions might be disappointing. Most likely, the colors will be bland or washed out. The first part of color calibration is to remove the sky glow from light pollution with Background Neutralization.
Background Neutralization Process
To setup the background neutralization process, we need to create a preview area within the image devoid of any stars or nebula structure. Ideally, the preview window should be in an area that contains the skyglow. You also want to try and make the preview area as large as possible, while still avoiding any stars or structure.
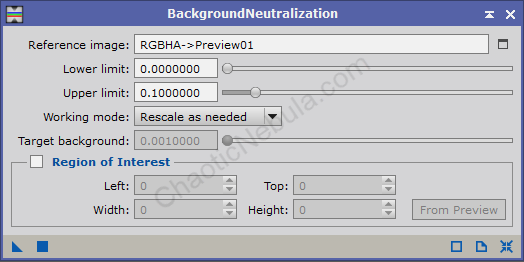

With the preview window created within the image, use this preview as the reference image option within the background neutralization process.
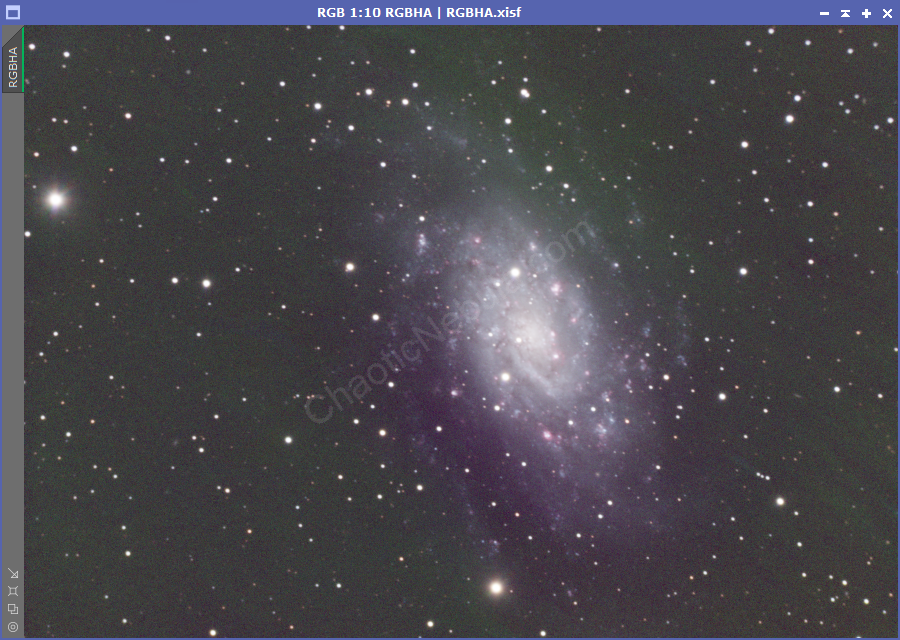
Once selected, apply the process to the image.
As you can see, with this image, the background gets less green, which will make color saturation processes easier to achieve later on.
What’s Next
With the sky glow removed from our image with Background Neutralization, we can now work on balancing our colors with PixInsight Color Calibration.