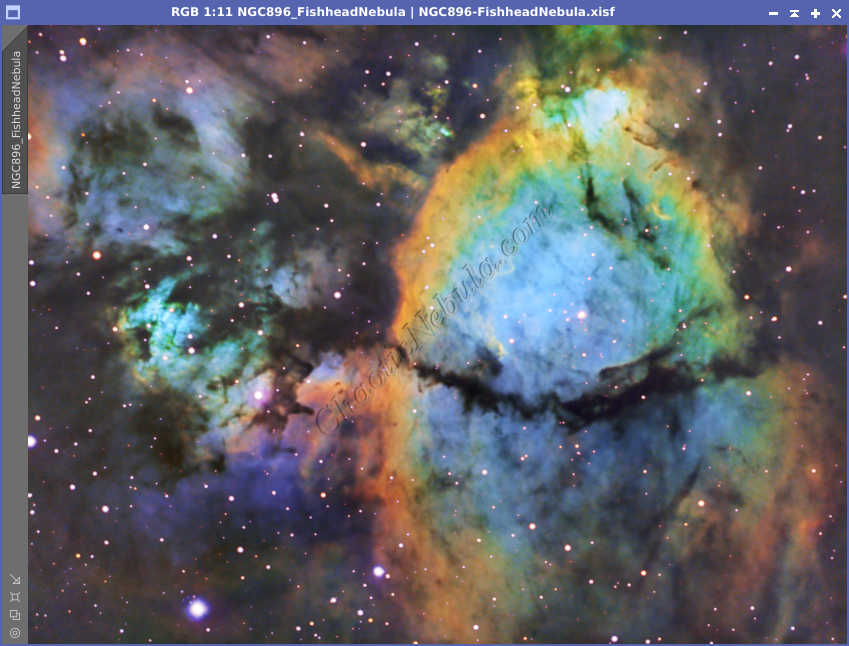
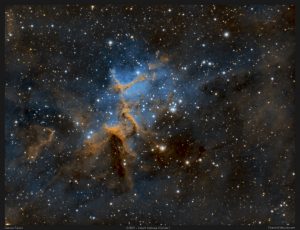
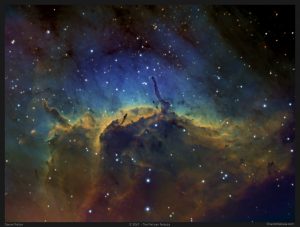
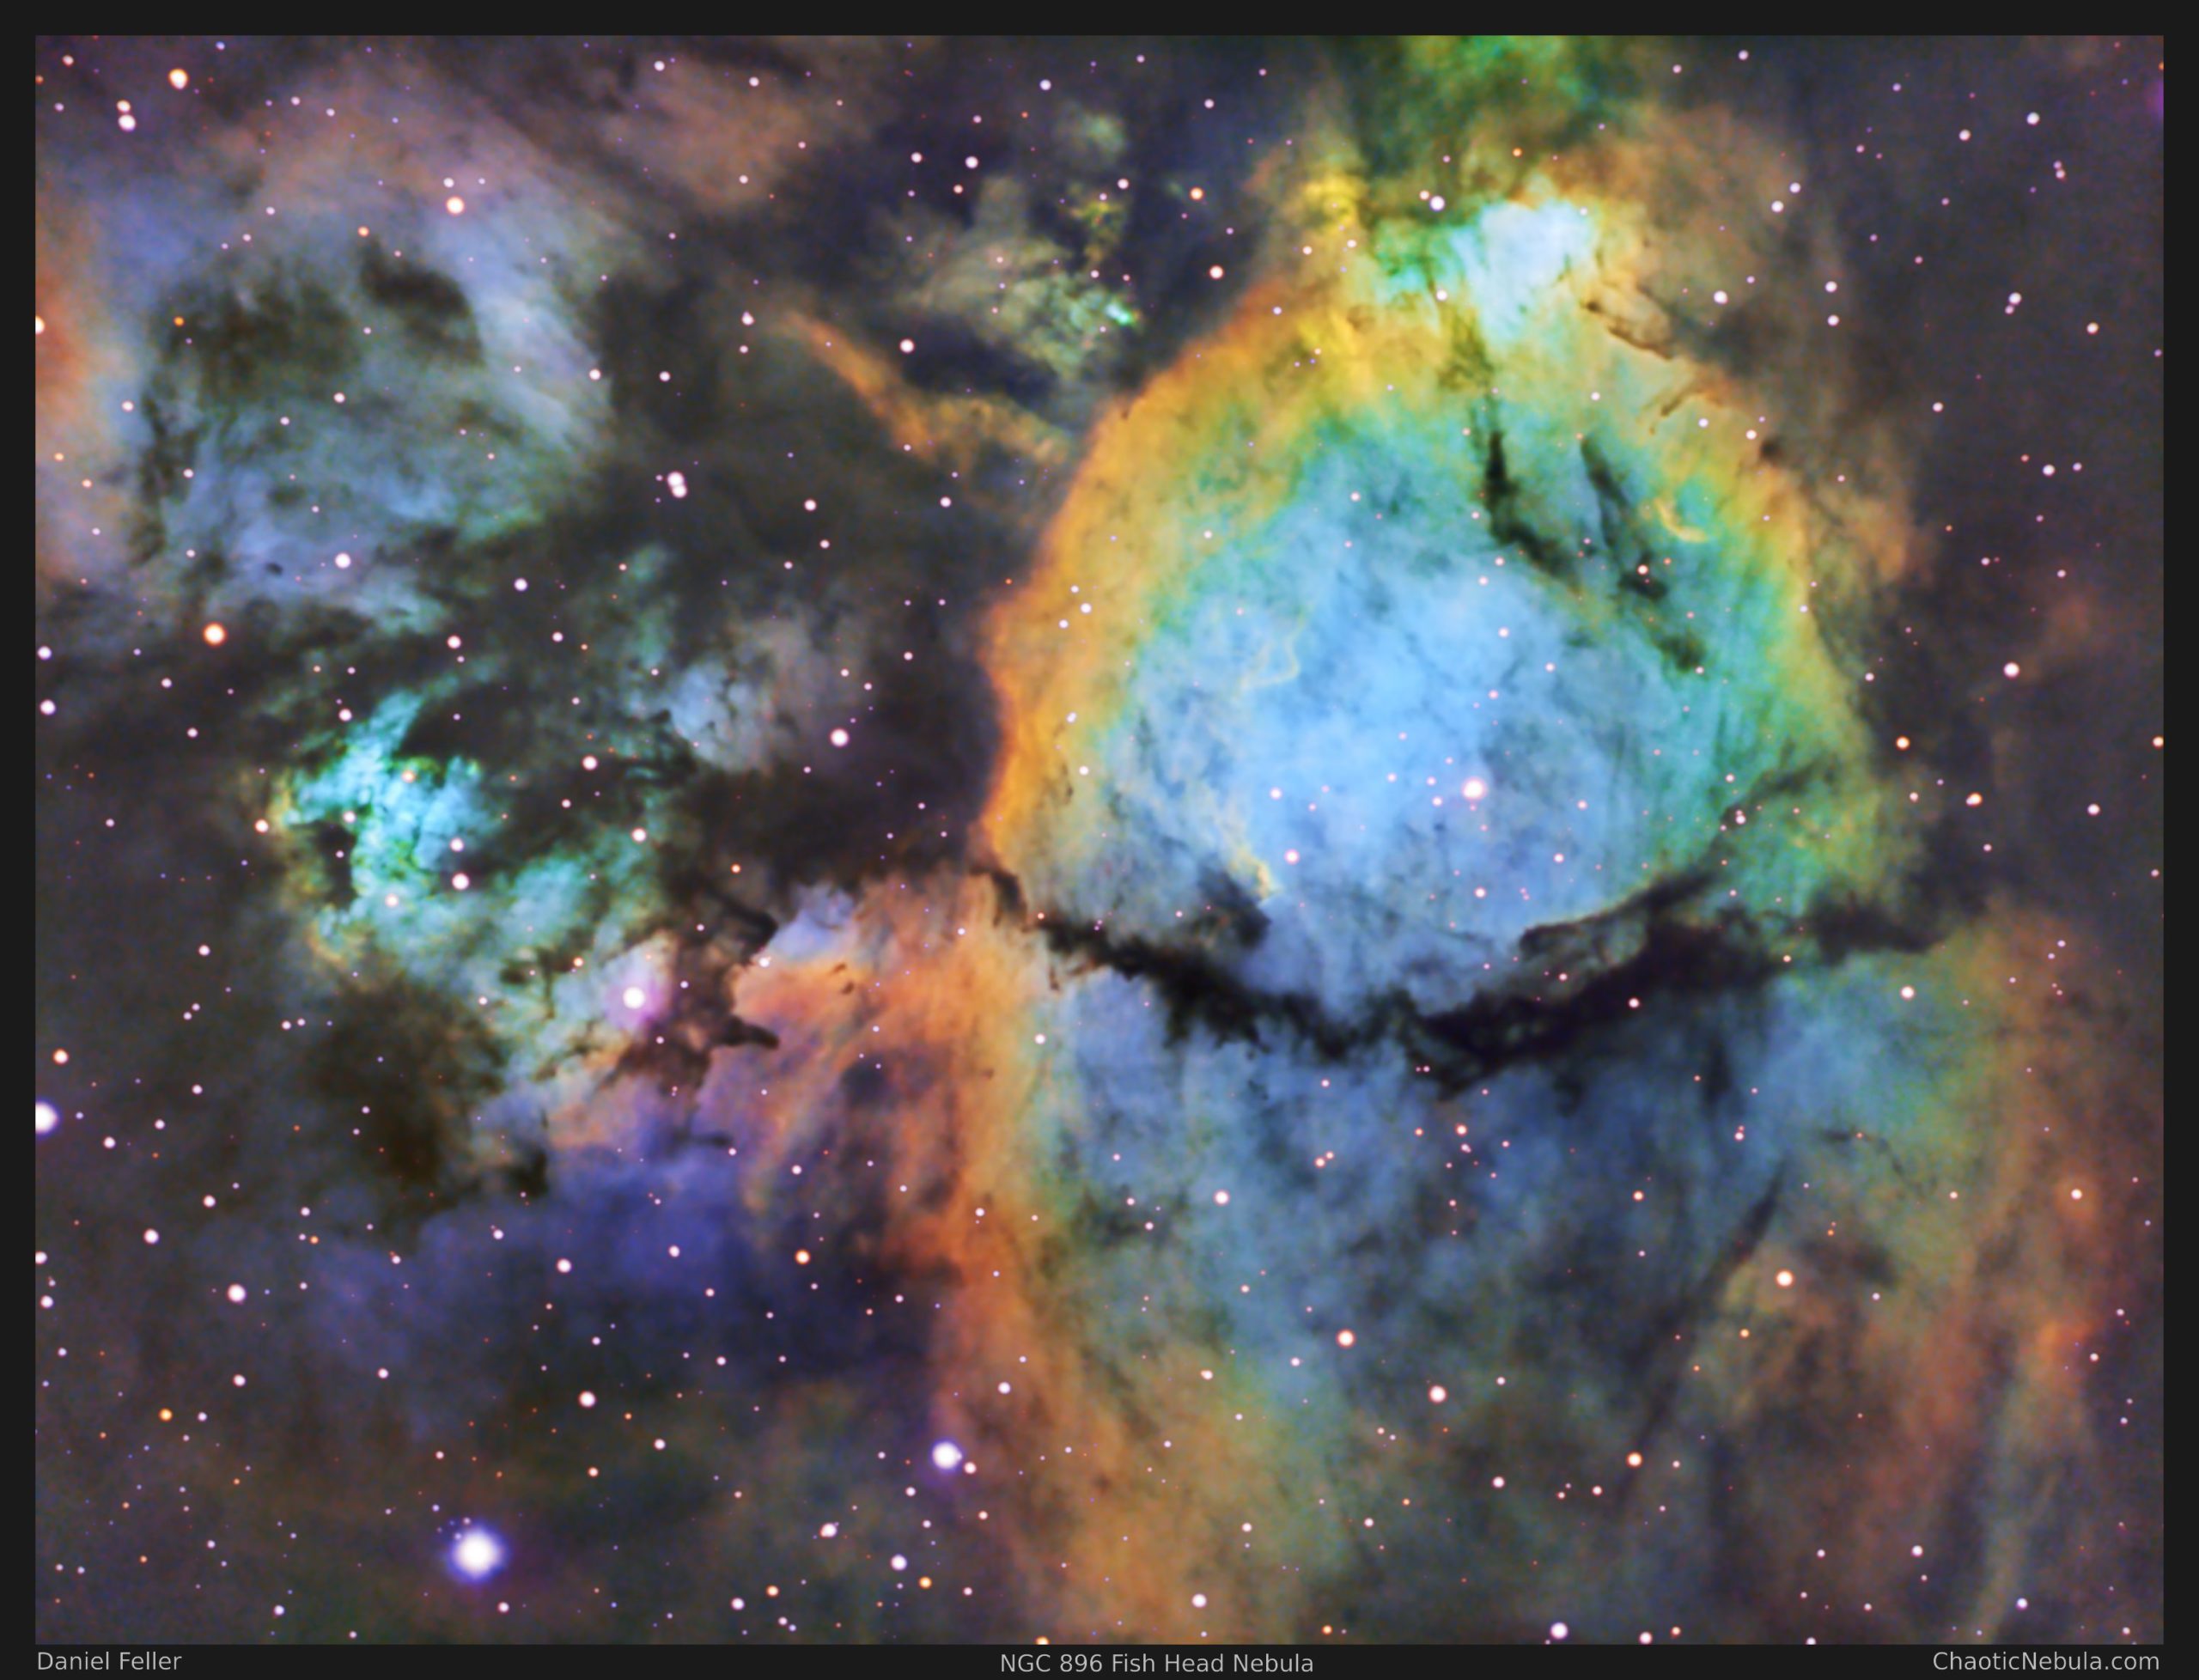
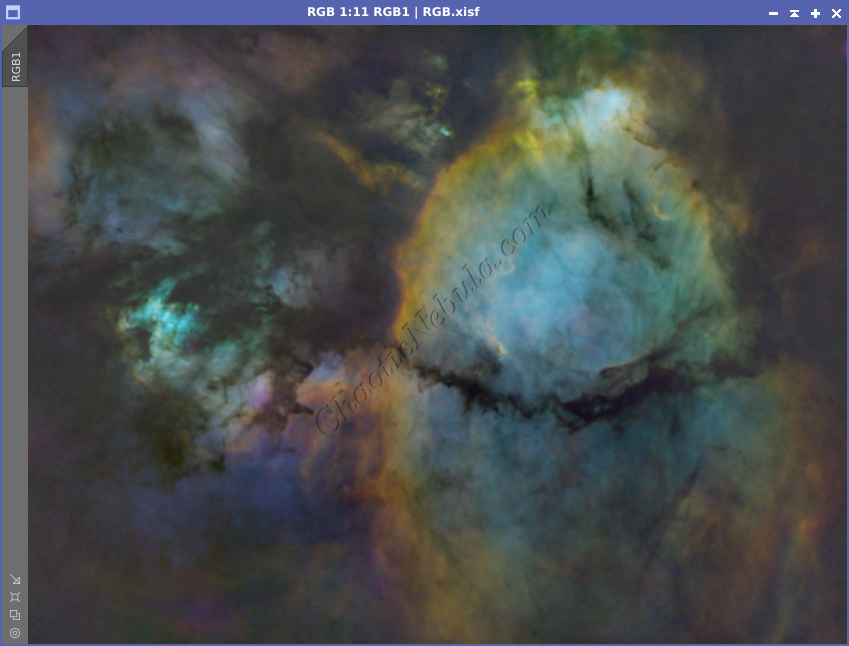
A few years ago, I created a 15-panel mosaic of IC 1805 – The Heart Nebula. This nebula, located in Cassiopeia, has a small extension not captured in the mosaic image. I went back and imaged this portion, which is identified as NGC 896 – The Fish Head Nebula.
Because it is part of the Heart Nebula, it has the same details in that it is roughly 7,500 light years away. However, the fish head section of the heart nebula was discovered first because it is brighter than the rest of the nebula.
Imaging Details
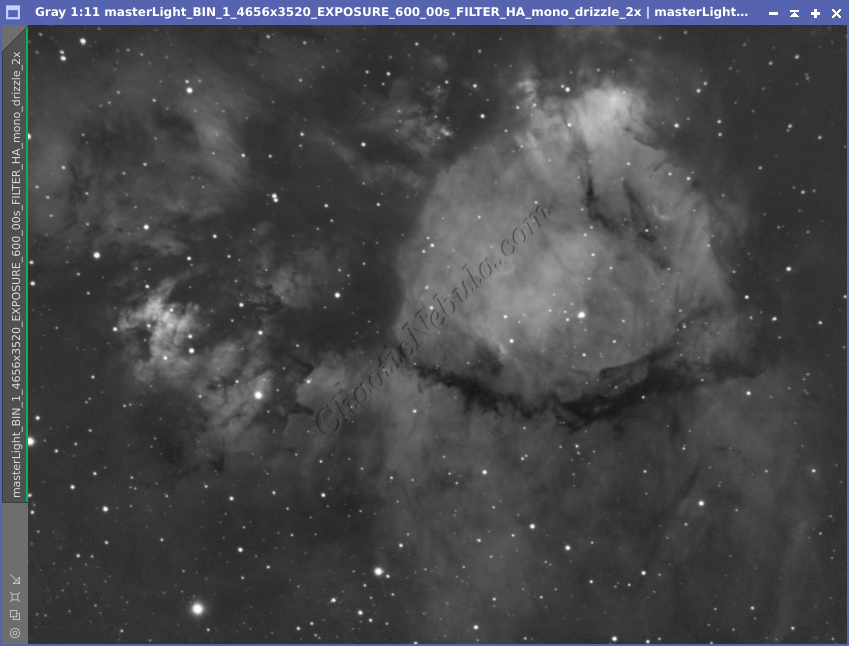
- Workflow: Narrowband
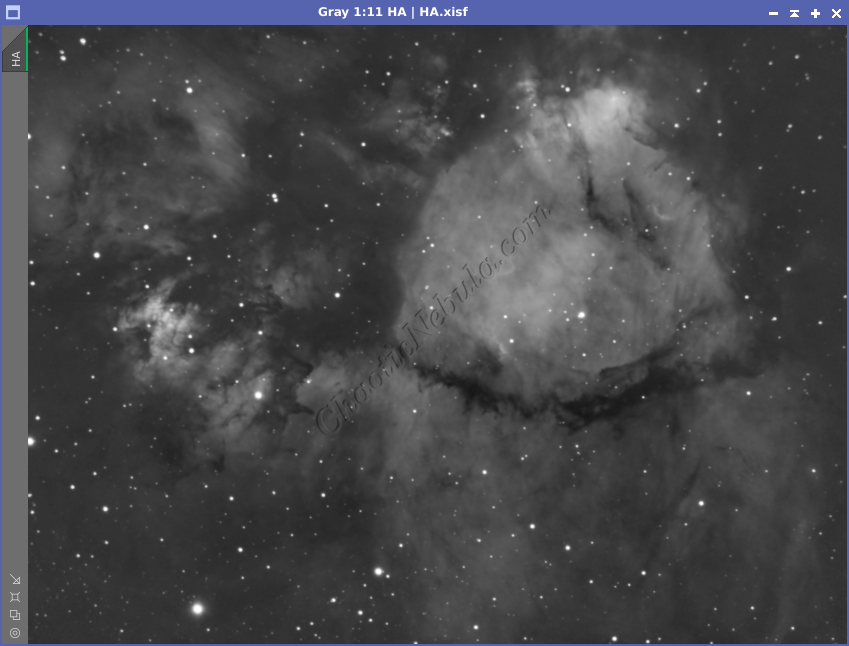
- HA: 60*600 seconds
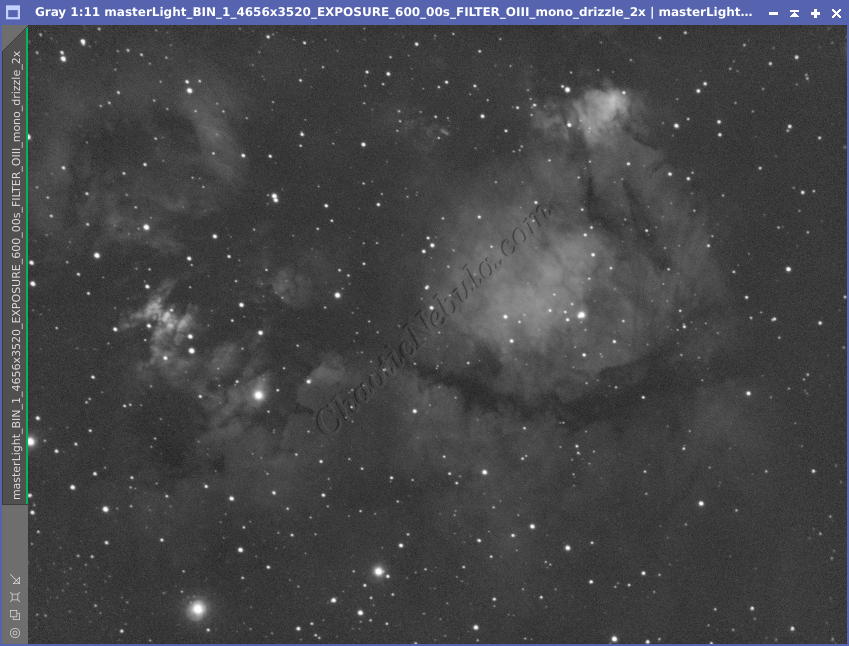
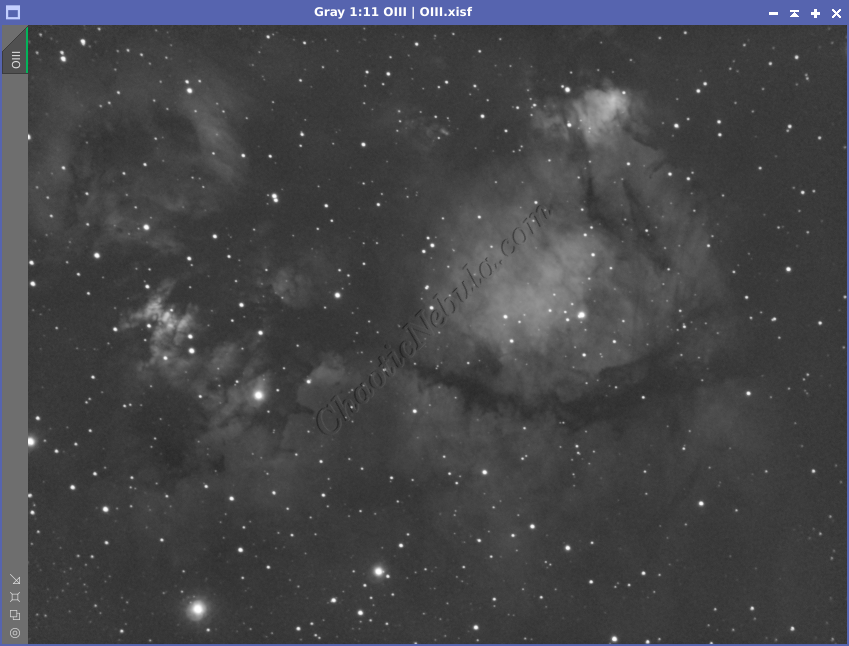
- OIII: 60*600 seconds
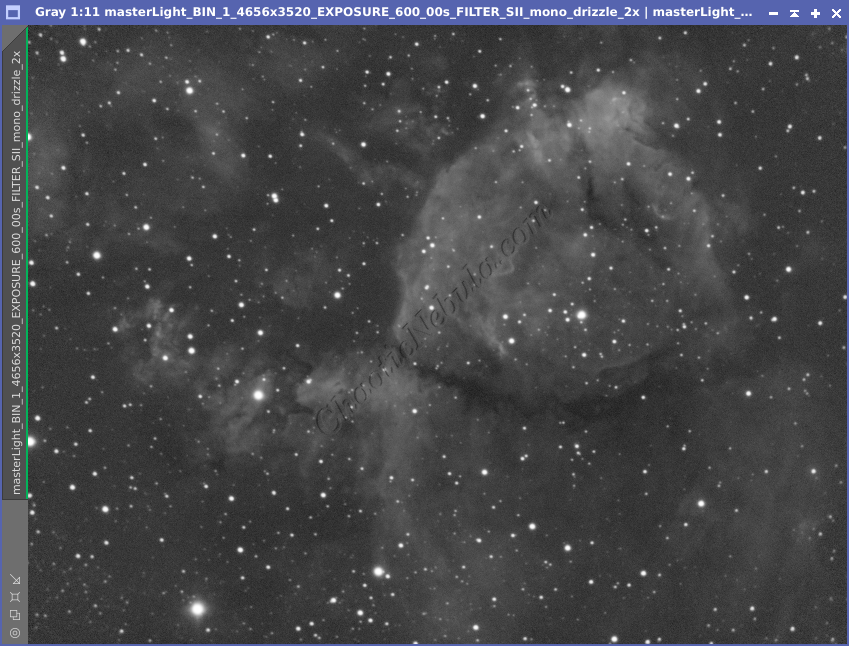
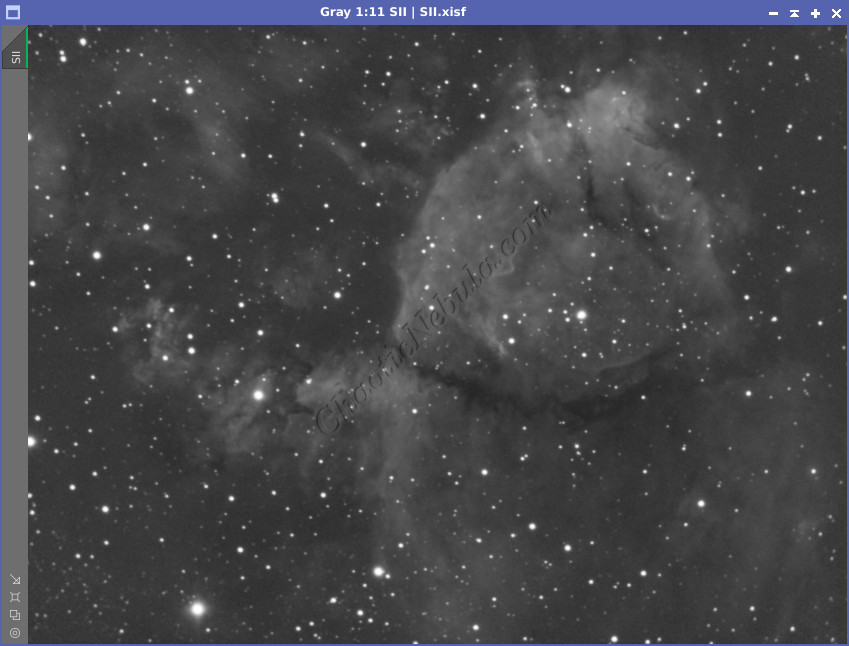
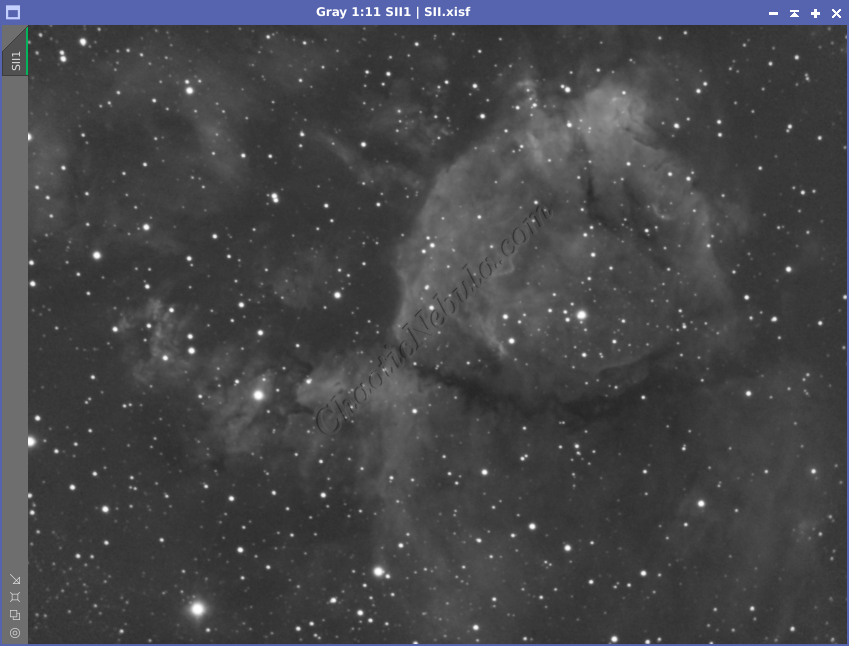
- SII: 60*600 seconds
- Total Imaging Time: 30 hours
- Imaging Dates (5 nights):
- 10/31/2022
- 11/1/2022
- 11/22/2022
- 11/24/2022
- 11/25/2022
Imaging Notes
NGC 896 is a small section of a much larger nebula (IC 1805 – The Heart Nebula). When I imaged 1805 before, I had to do a 15 panel mosaic. Adding in the Fish Head portion would have required the acquisition of many more panels. Overall, imaging the Fish Head Nebula was straightforward. I did, however, modify my PixInsight Workflow.
- Before stretching the color image, I do a star removal. I then stretch and make the necessary color/saturation changes as needed.
- My synthetic luminance image that I integrate with the color image is also processed without stars.
- When I finish all image processing, the last step is to add the stars back into the final image. This approach keeps my stars small as most image processing workflows often cause stars to bloat.
Imaging Workflow
This image followed my standard Narrowband workflow very closely, except that I removed stars from my color image.
Integrated Image
I started off with three really good images for HA, OIII, and SII. I did my normal integration process with drizzle integration, dynamic crop, and dynamic background extraction.
Noise Reduction
I followed my normal noise reduction process, first starting with TGV Denoise. I ran this process twice for the HA, OIII, and SII frames.
The second part of noise reduction was to use multi-scale linear transformation.


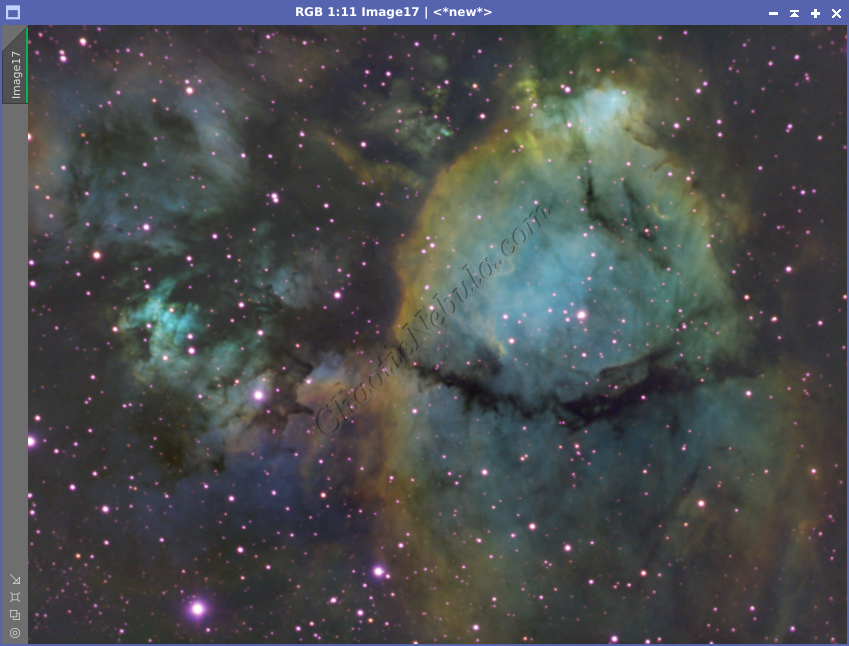
Channel Combination
I ran my normal channel combination approach. I did skip background neutralization and color calibration as I was happy with the appearance. Plus, background neutralization usually requires an area that is background sky. Unfortunately, this image had no background areas as it was all nebula.
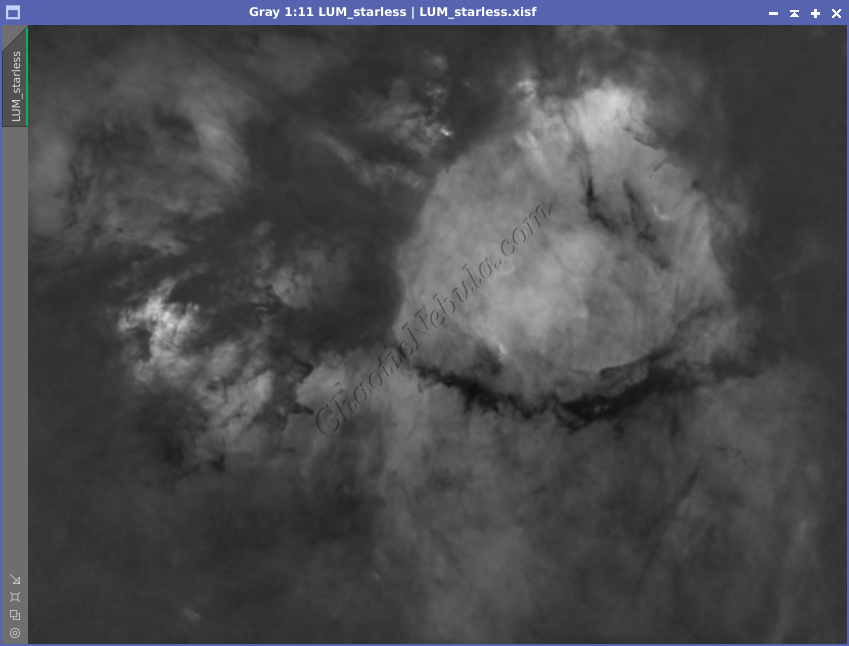
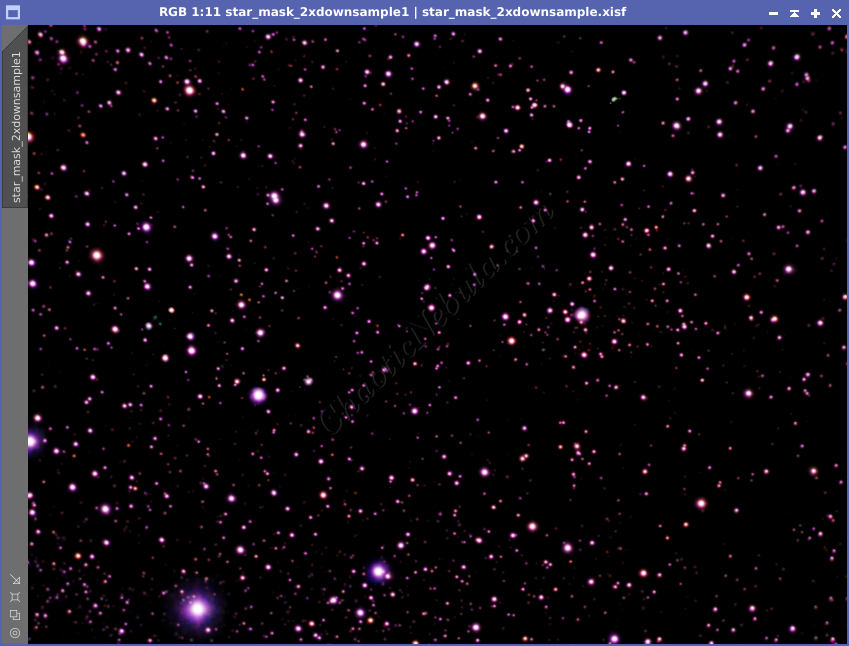
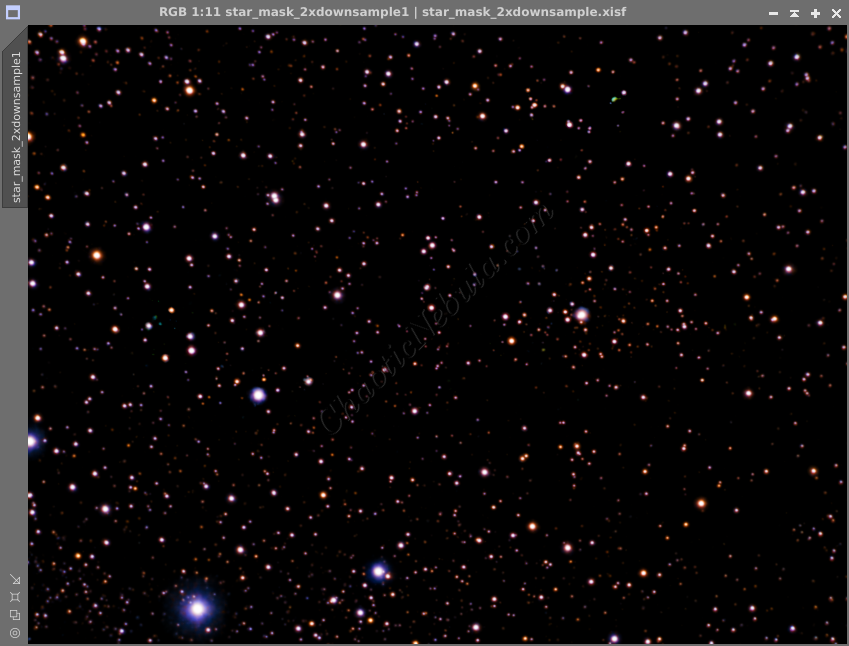
Star Removal
I’ve been testing image processing by removing the stars early on as a way to keep the stars from getting bloated due to additional processing being applied to the image. As part of this process, I had StarNet create a star mask, which I will use later to re-add the stars.

Color Saturation
Before I stretch the image, I used Curves Transformation to increase the overall color saturation.
Histogram Stretch
I used histogram transformation to stretch the image.
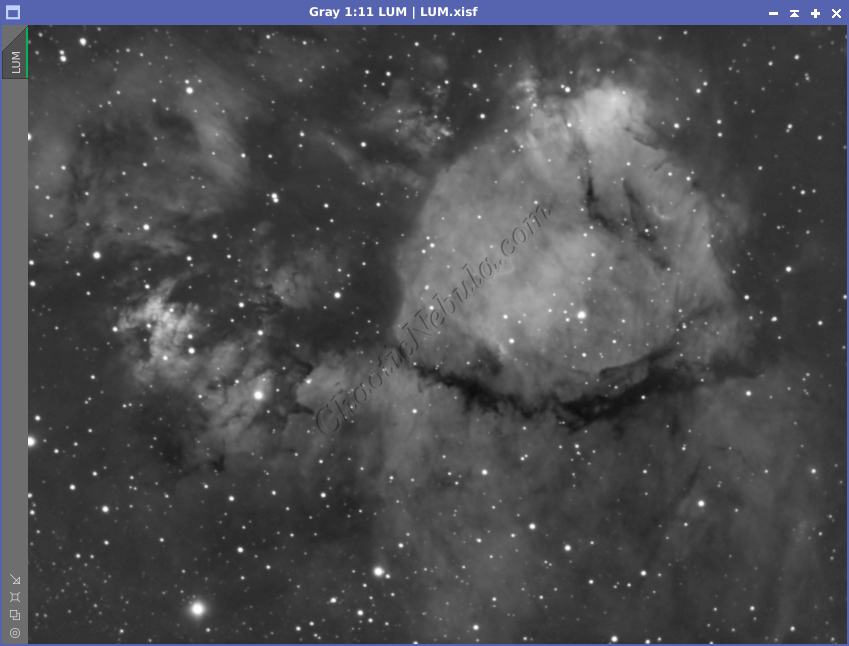
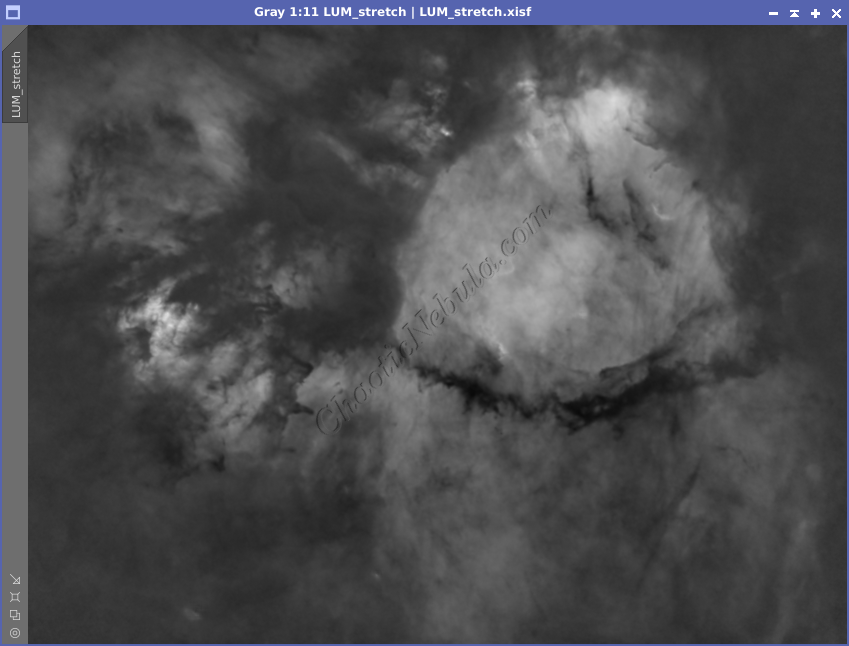
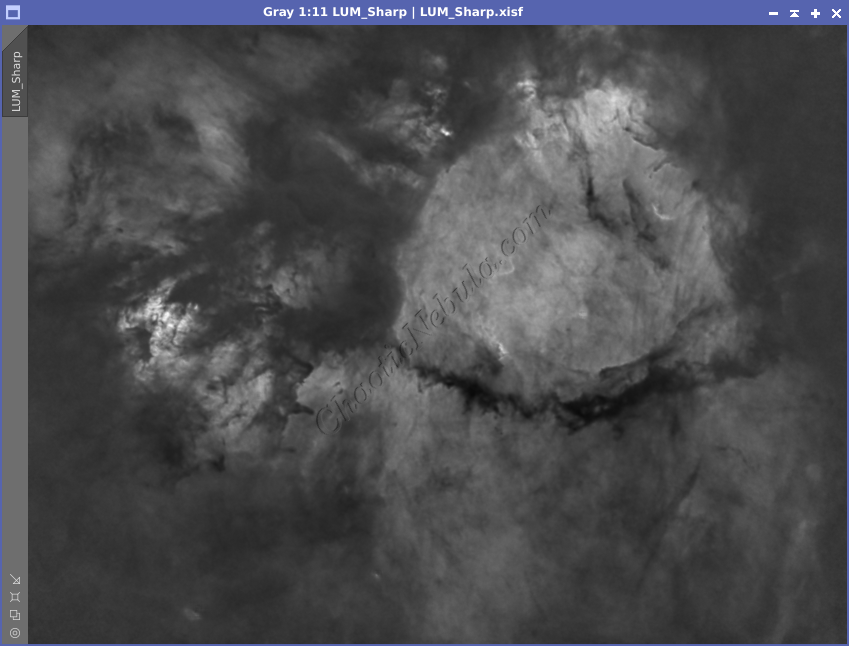
Luminance Workflow
Before I stretched the color image, I extracted the luminance channel. With a luminance image, I ran through the luminance workflow. To achieve this, I simply use channel extraction to generate the luminance channel.


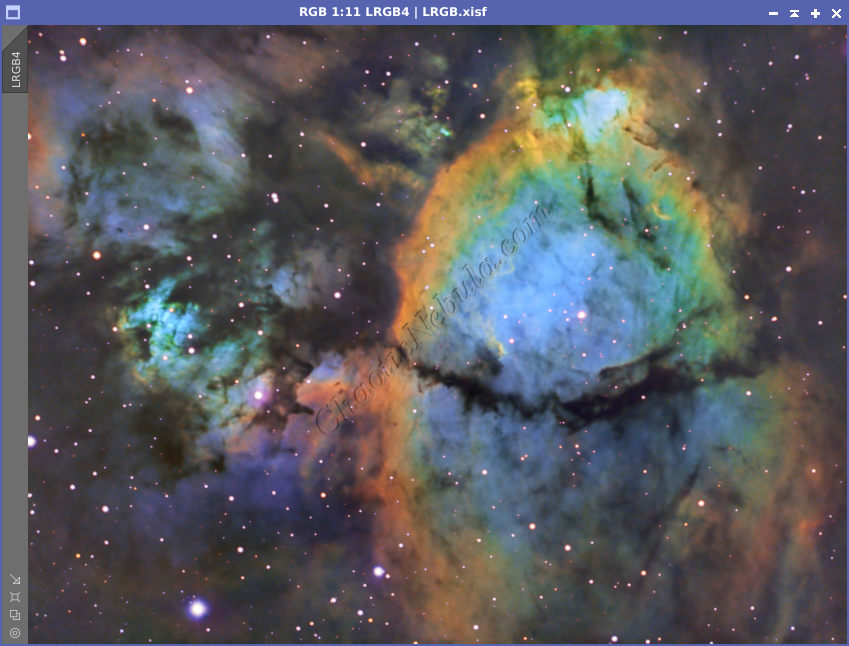
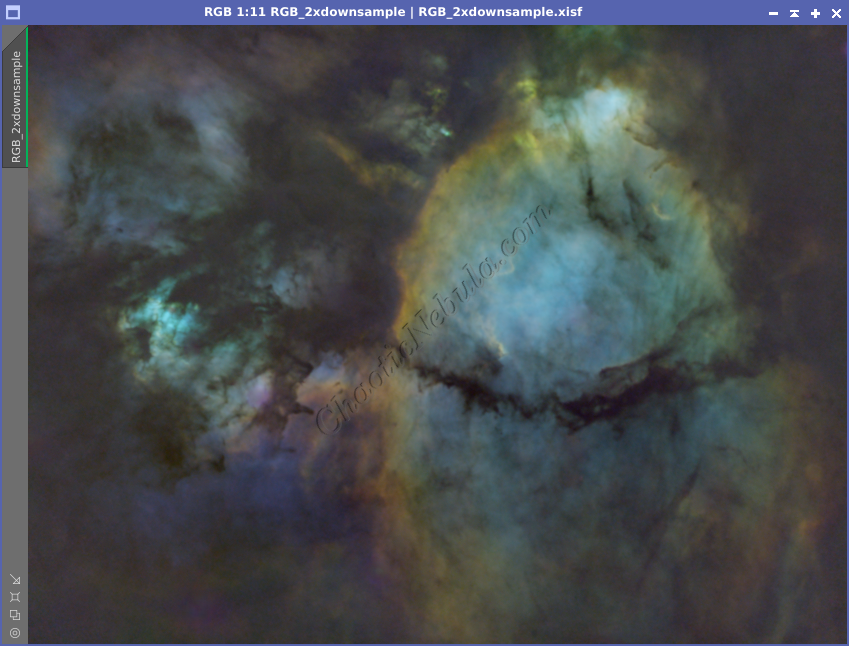
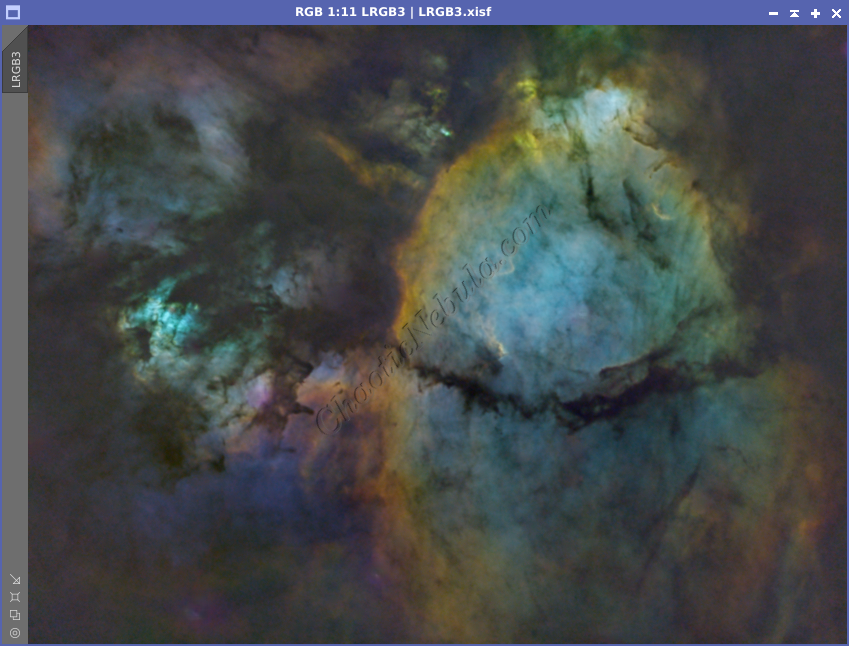
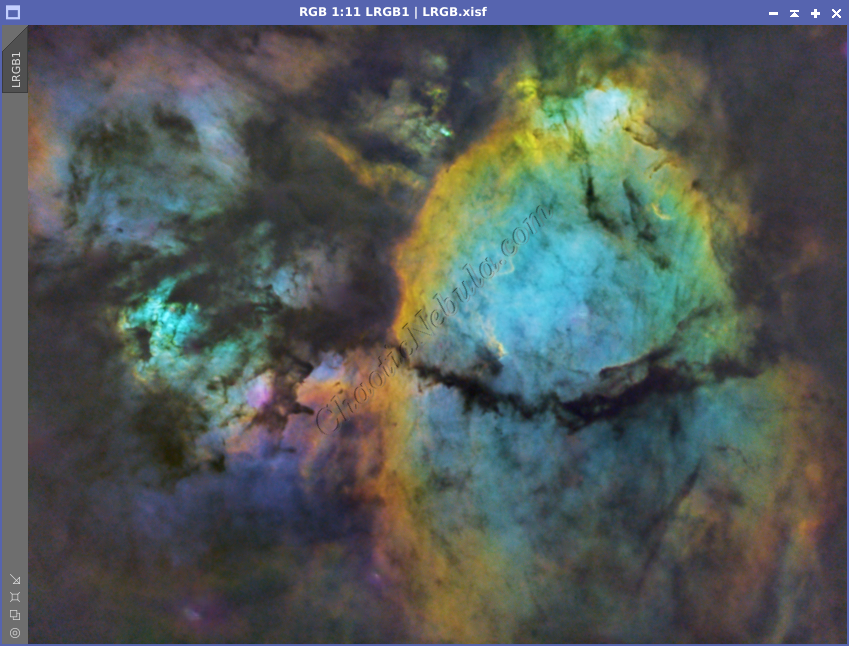
Luminance Integration (LRGB)
With the luminance image processed, I can integrate it with the color image with Channel Combination. I run this process multiple times until I get the desired result.


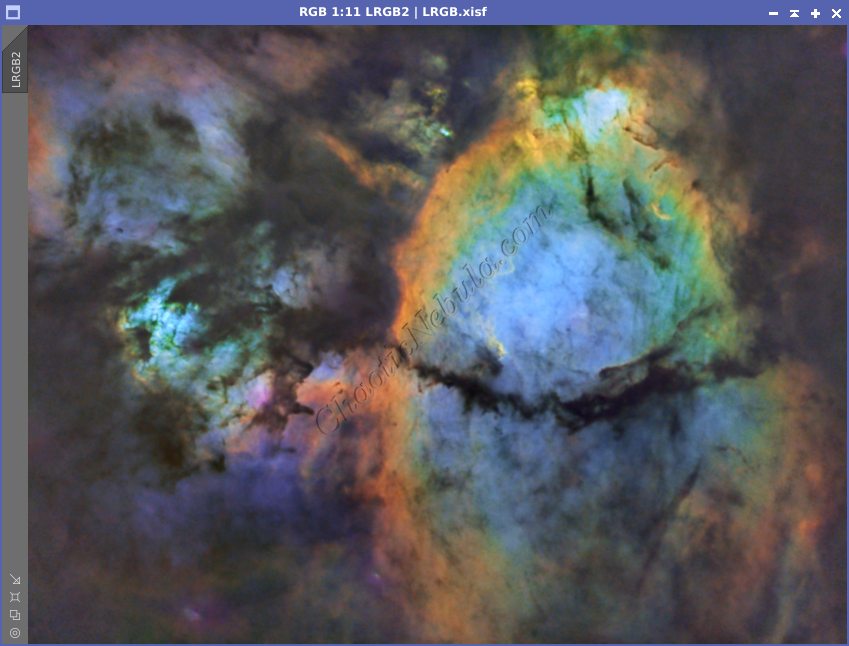
Color Saturation
I used Curves Transformation to increase the overall color saturation for a second time.
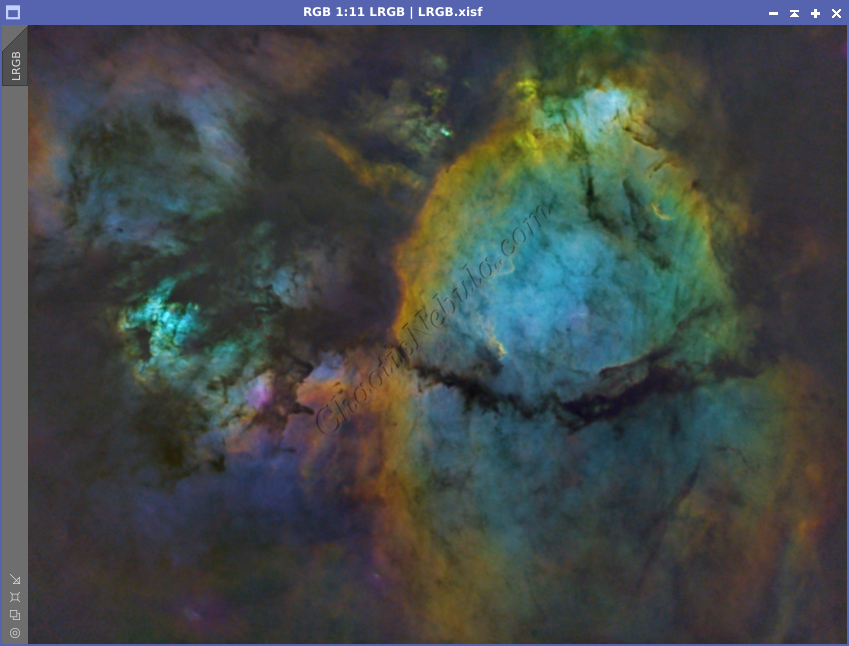
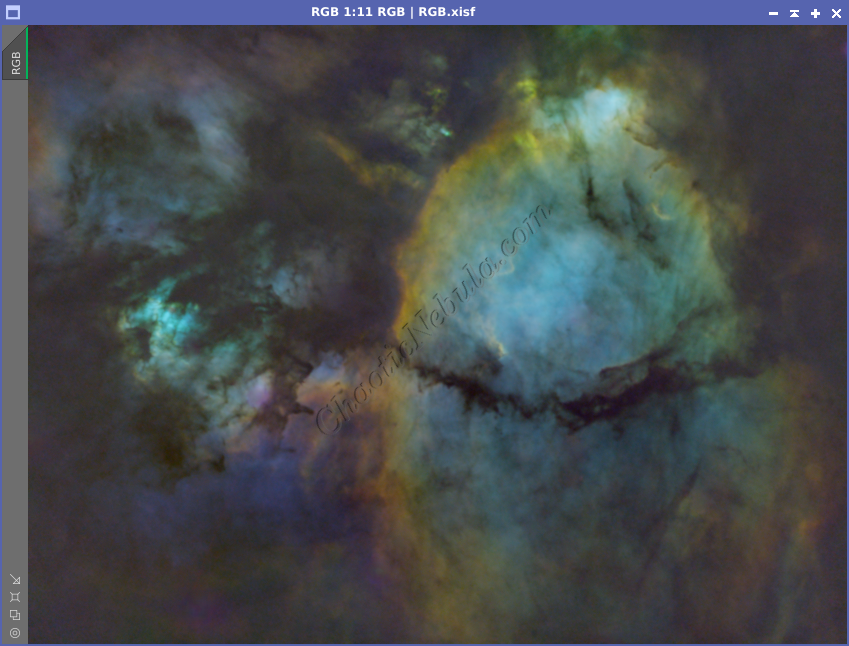
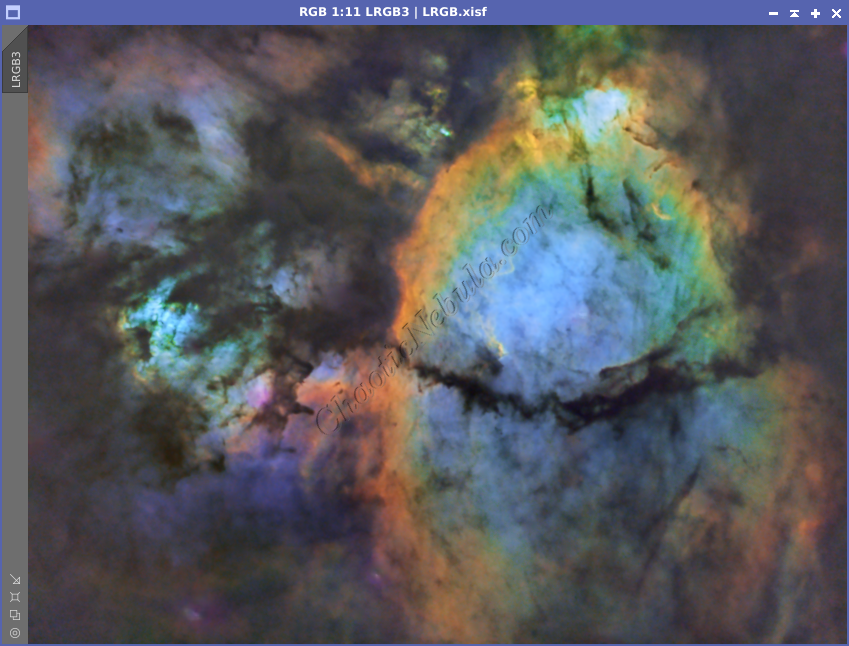
Brightness and Color Adjustments
I used Curves Transformation to increase the overall brightness and colors.
Noise Reduction
Now that the image is done, I run one last noise reduction with ACDNR.
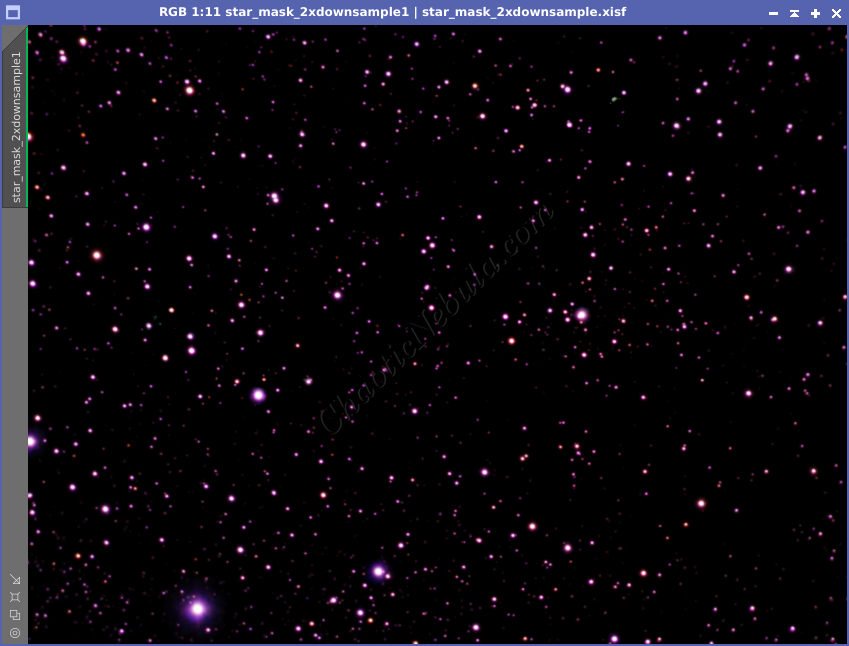
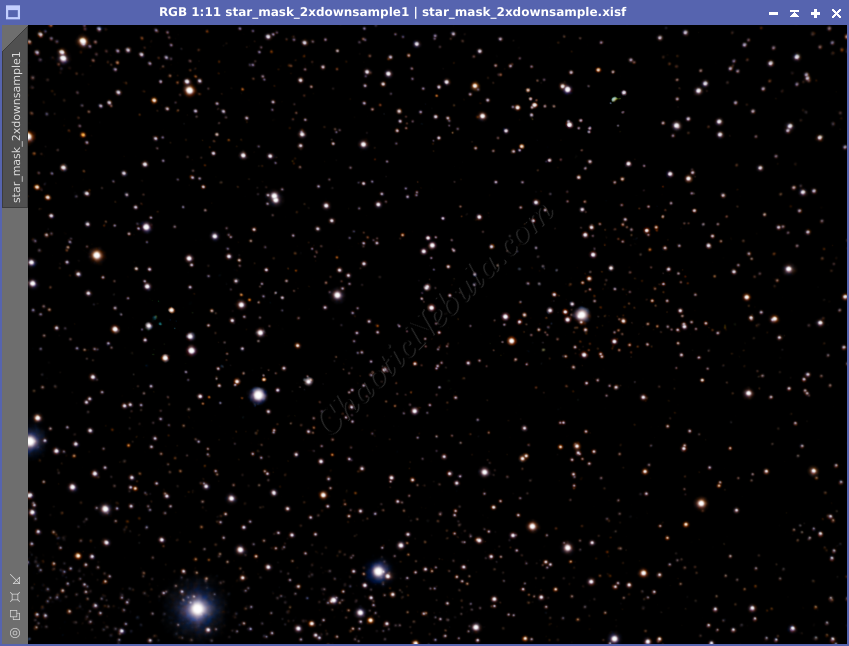
Star Integration
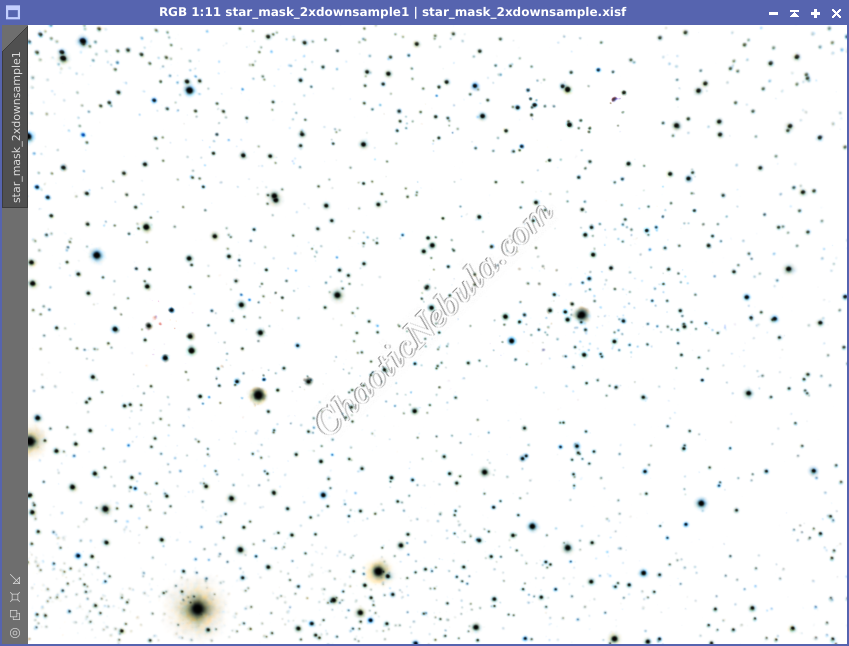
Now that the image is almost complete, it is time to add the stars back into the image. I will use the star mask the StarNet created during the star removal process of the SHO color image. The stars image is stretched, magenta color removed (common in SHO stars), and color saturation increased.
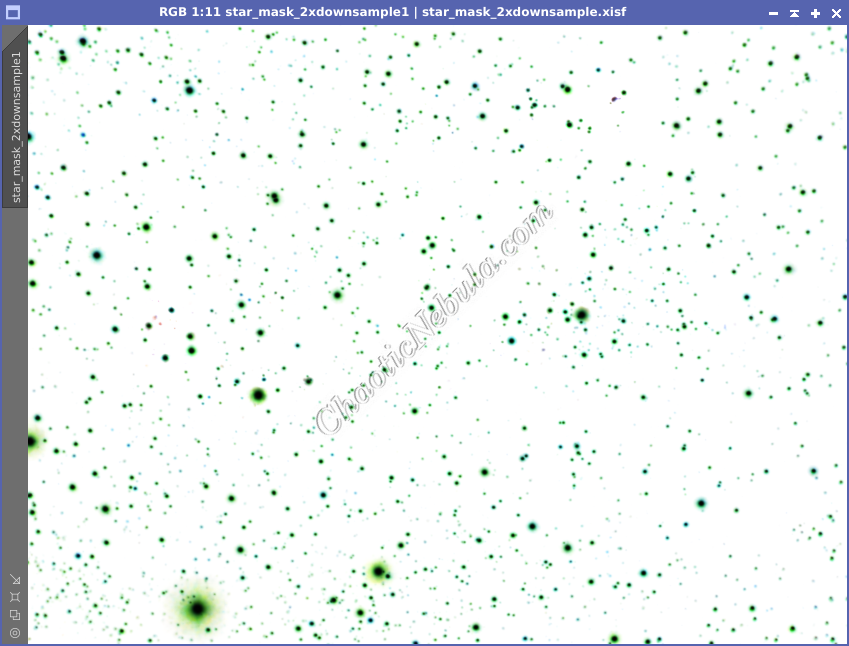
After the stars are stretched, extract the luminance channel and apply this to the color image as a mask.
Then, using Pixel Math, take the maximum values from both images and apply to the color image. Because of the star mask applied to the color image, this formula only impacts the unprotected areas from the star mask.